The Deadspot Guide to Sparkly Inks
tutorials ·Introduction
Mastering inking techniques is essential for creating polished, professional artwork. In this tutorial, I’ll introduce you to the four fundamental elements that add energy and depth to my linework: Dead Lines, Outlines, T-Overlaps, and Spot Blacks. These elements work together to create dynamic, eye-catching inks that elevate your illustrations. If you’ve ever felt like your inks lack impact, this method will help you refine your approach and make your work stand out. Follow along with your own sketch and use the reference guide for easy recall. Let’s get started!
The Four Key Elements
Dead Lines
These are uniform lines with minimal variation in width, commonly used in 2D animation. While often avoided in comics and illustrations, they provide a solid base for your inking process. By starting with dead lines, you can focus on capturing clean forms before adding weight and contrast.
Outlines
The outermost lines that define a character’s silhouette. Adding line weight to outlines helps make your character’s form pop, ensuring they remain easily recognizable even in busy compositions.
T-Overlaps
These occur where one line meets another at a perpendicular angle, forming a T-shape. Enhancing these intersections with added line weight creates a sense of depth and visual appeal.
Spot Blacks
Solid black areas used for shadows, clothing, or hair. These high-contrast shapes help direct the viewer’s eye and emphasize key elements of your illustration.
The Deadspot Method Step-by-Step
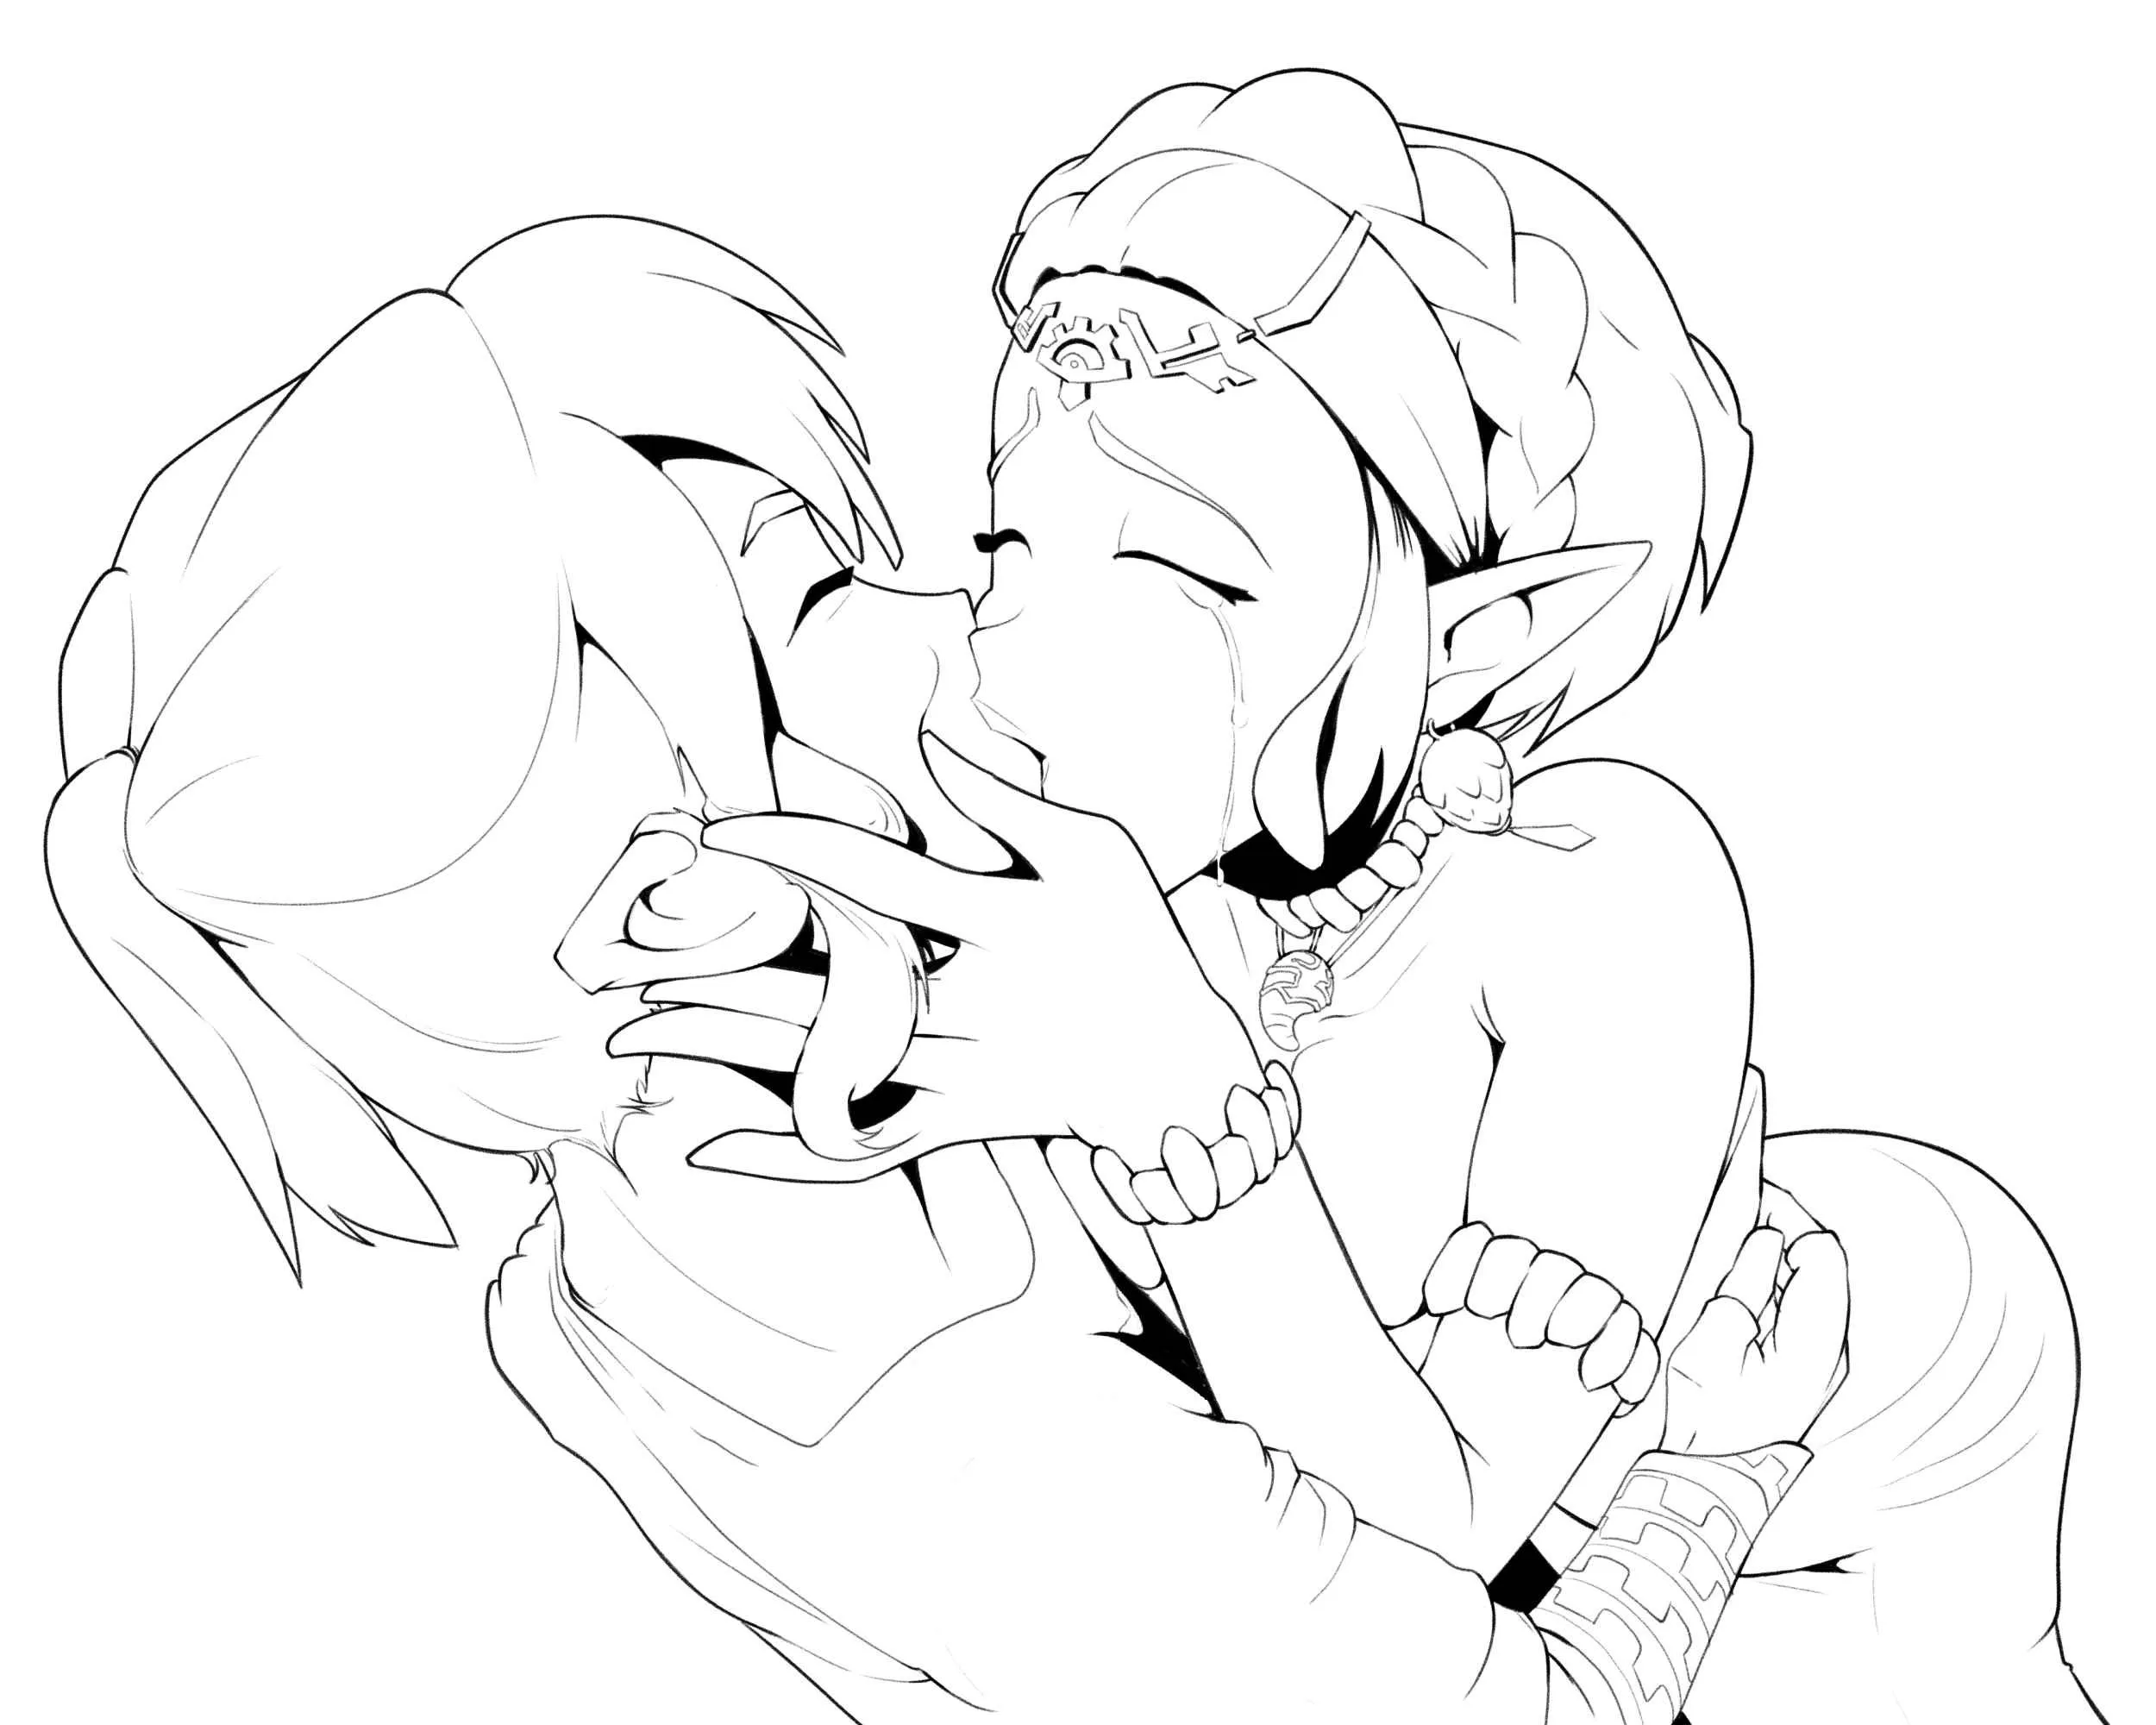
I’ll demonstrate this technique using a complex illustration of Princess Zelda and Link in an intimate, dramatic scene. While this example features a lot of details and overlapping forms, the method works just as well on simple character poses.
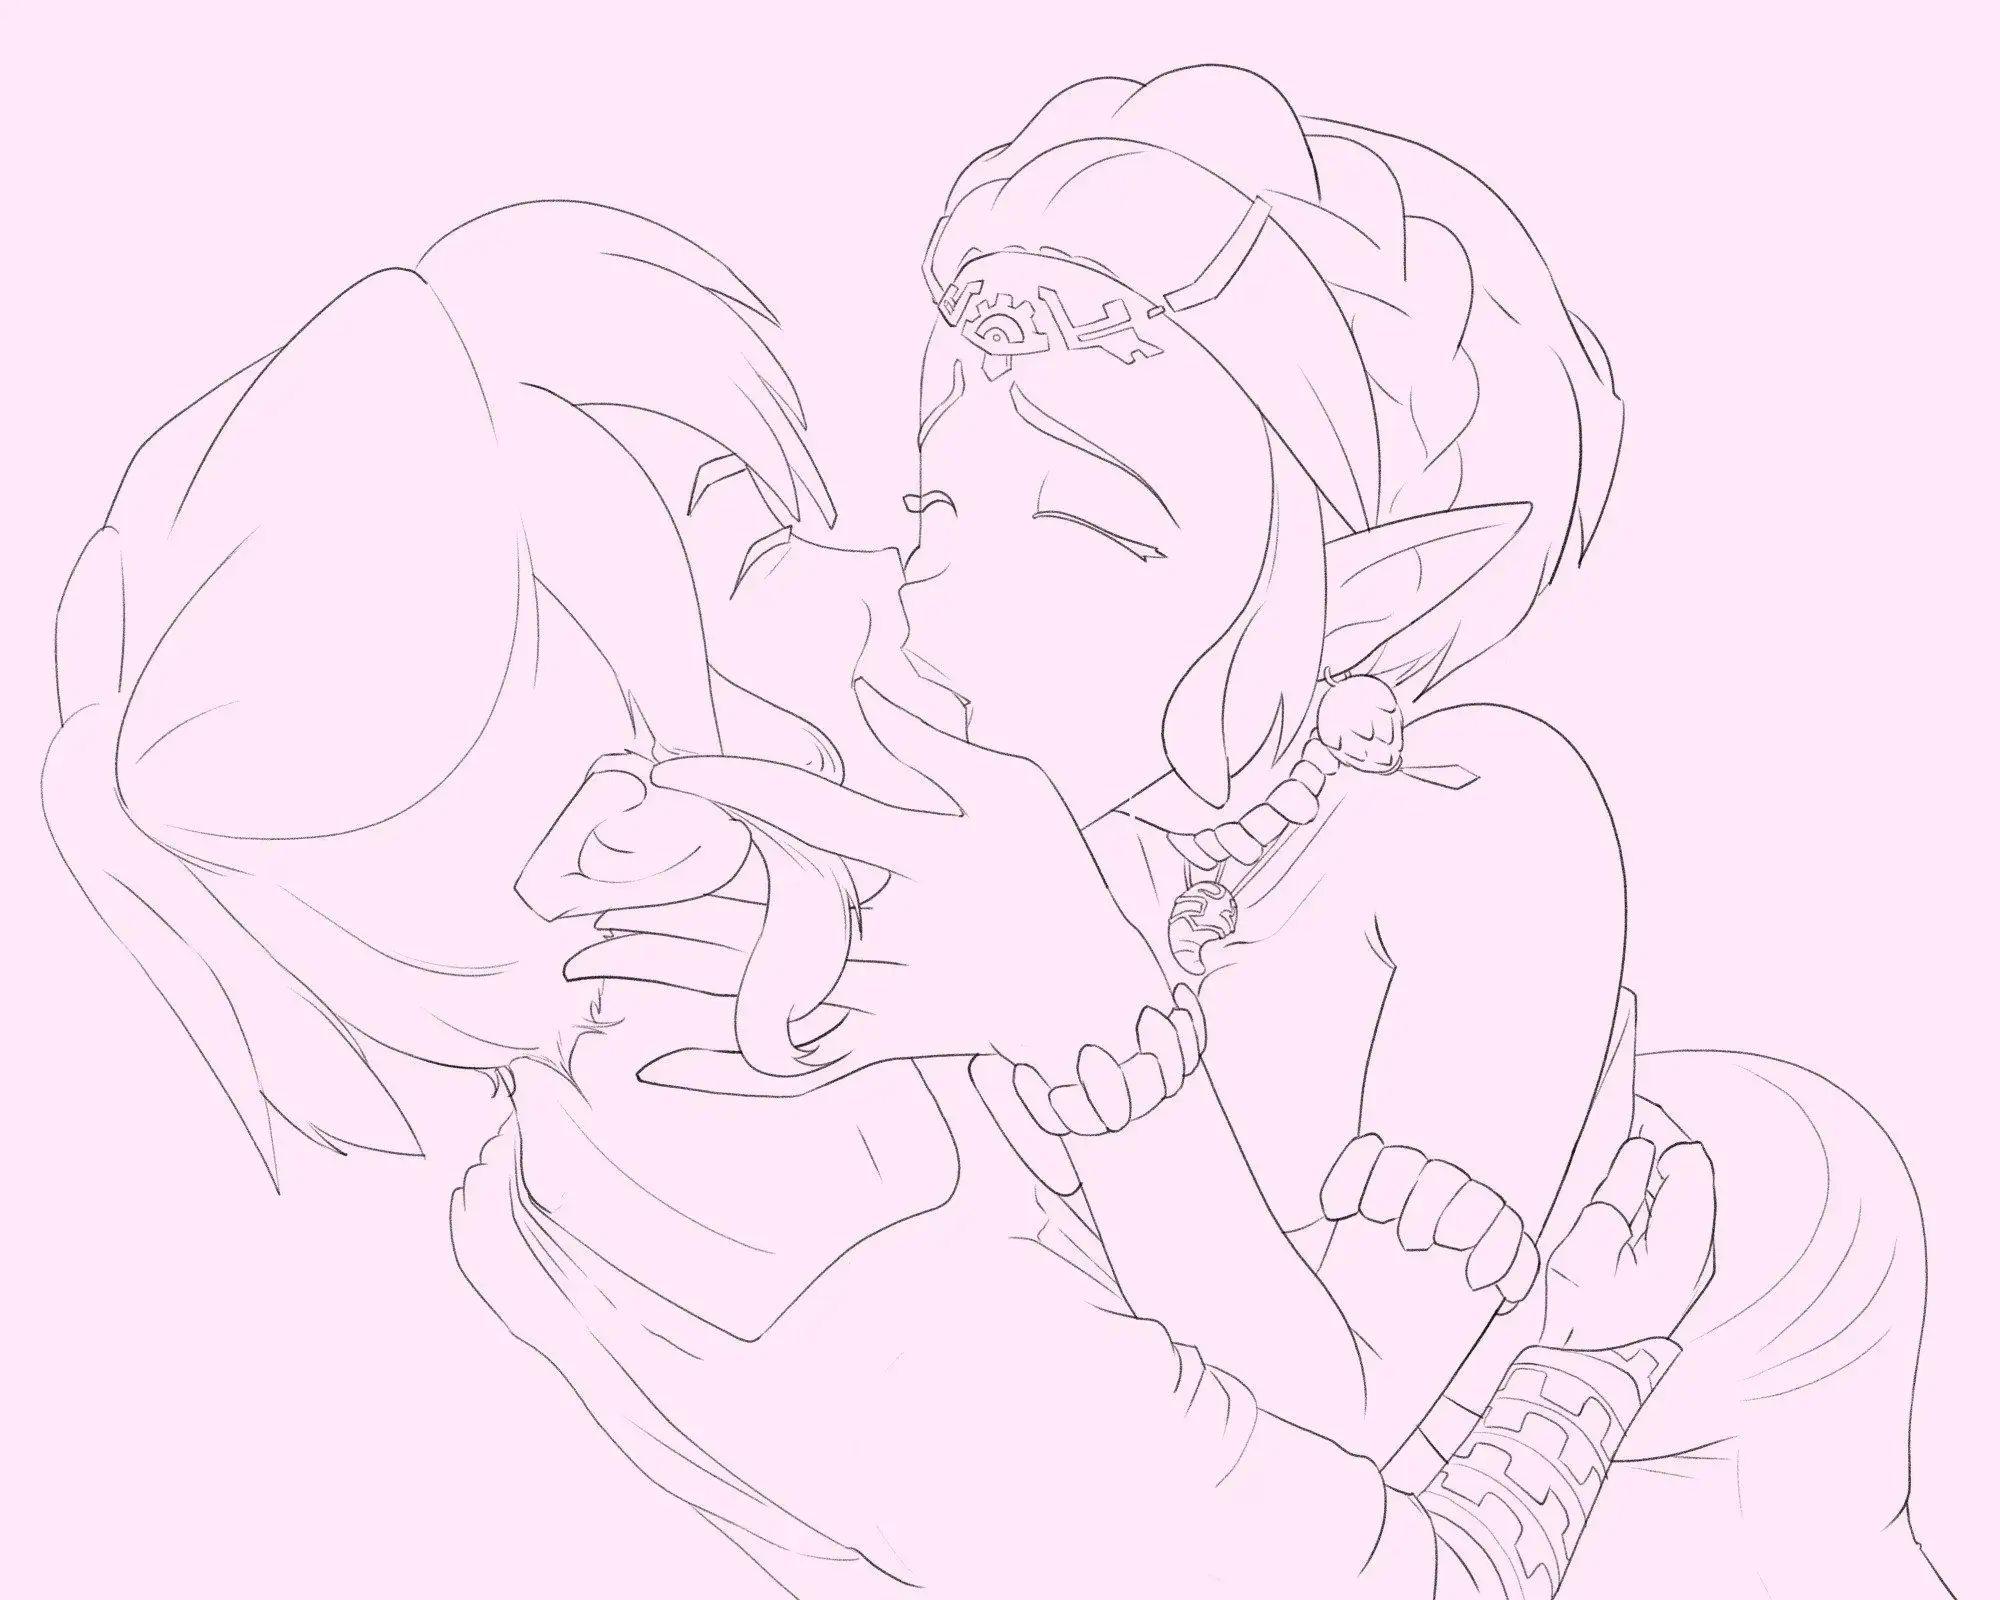
Step 1: Preparing the Sketch
Before inking, I create a tight, technical sketch with well-defined proportions and details. My initial sketches start loose and gestural, then gradually become more refined. This structured approach allows me to focus on confident inking later. If you’re happy with your sketch and feel that all elements are in place, you’re ready to ink!
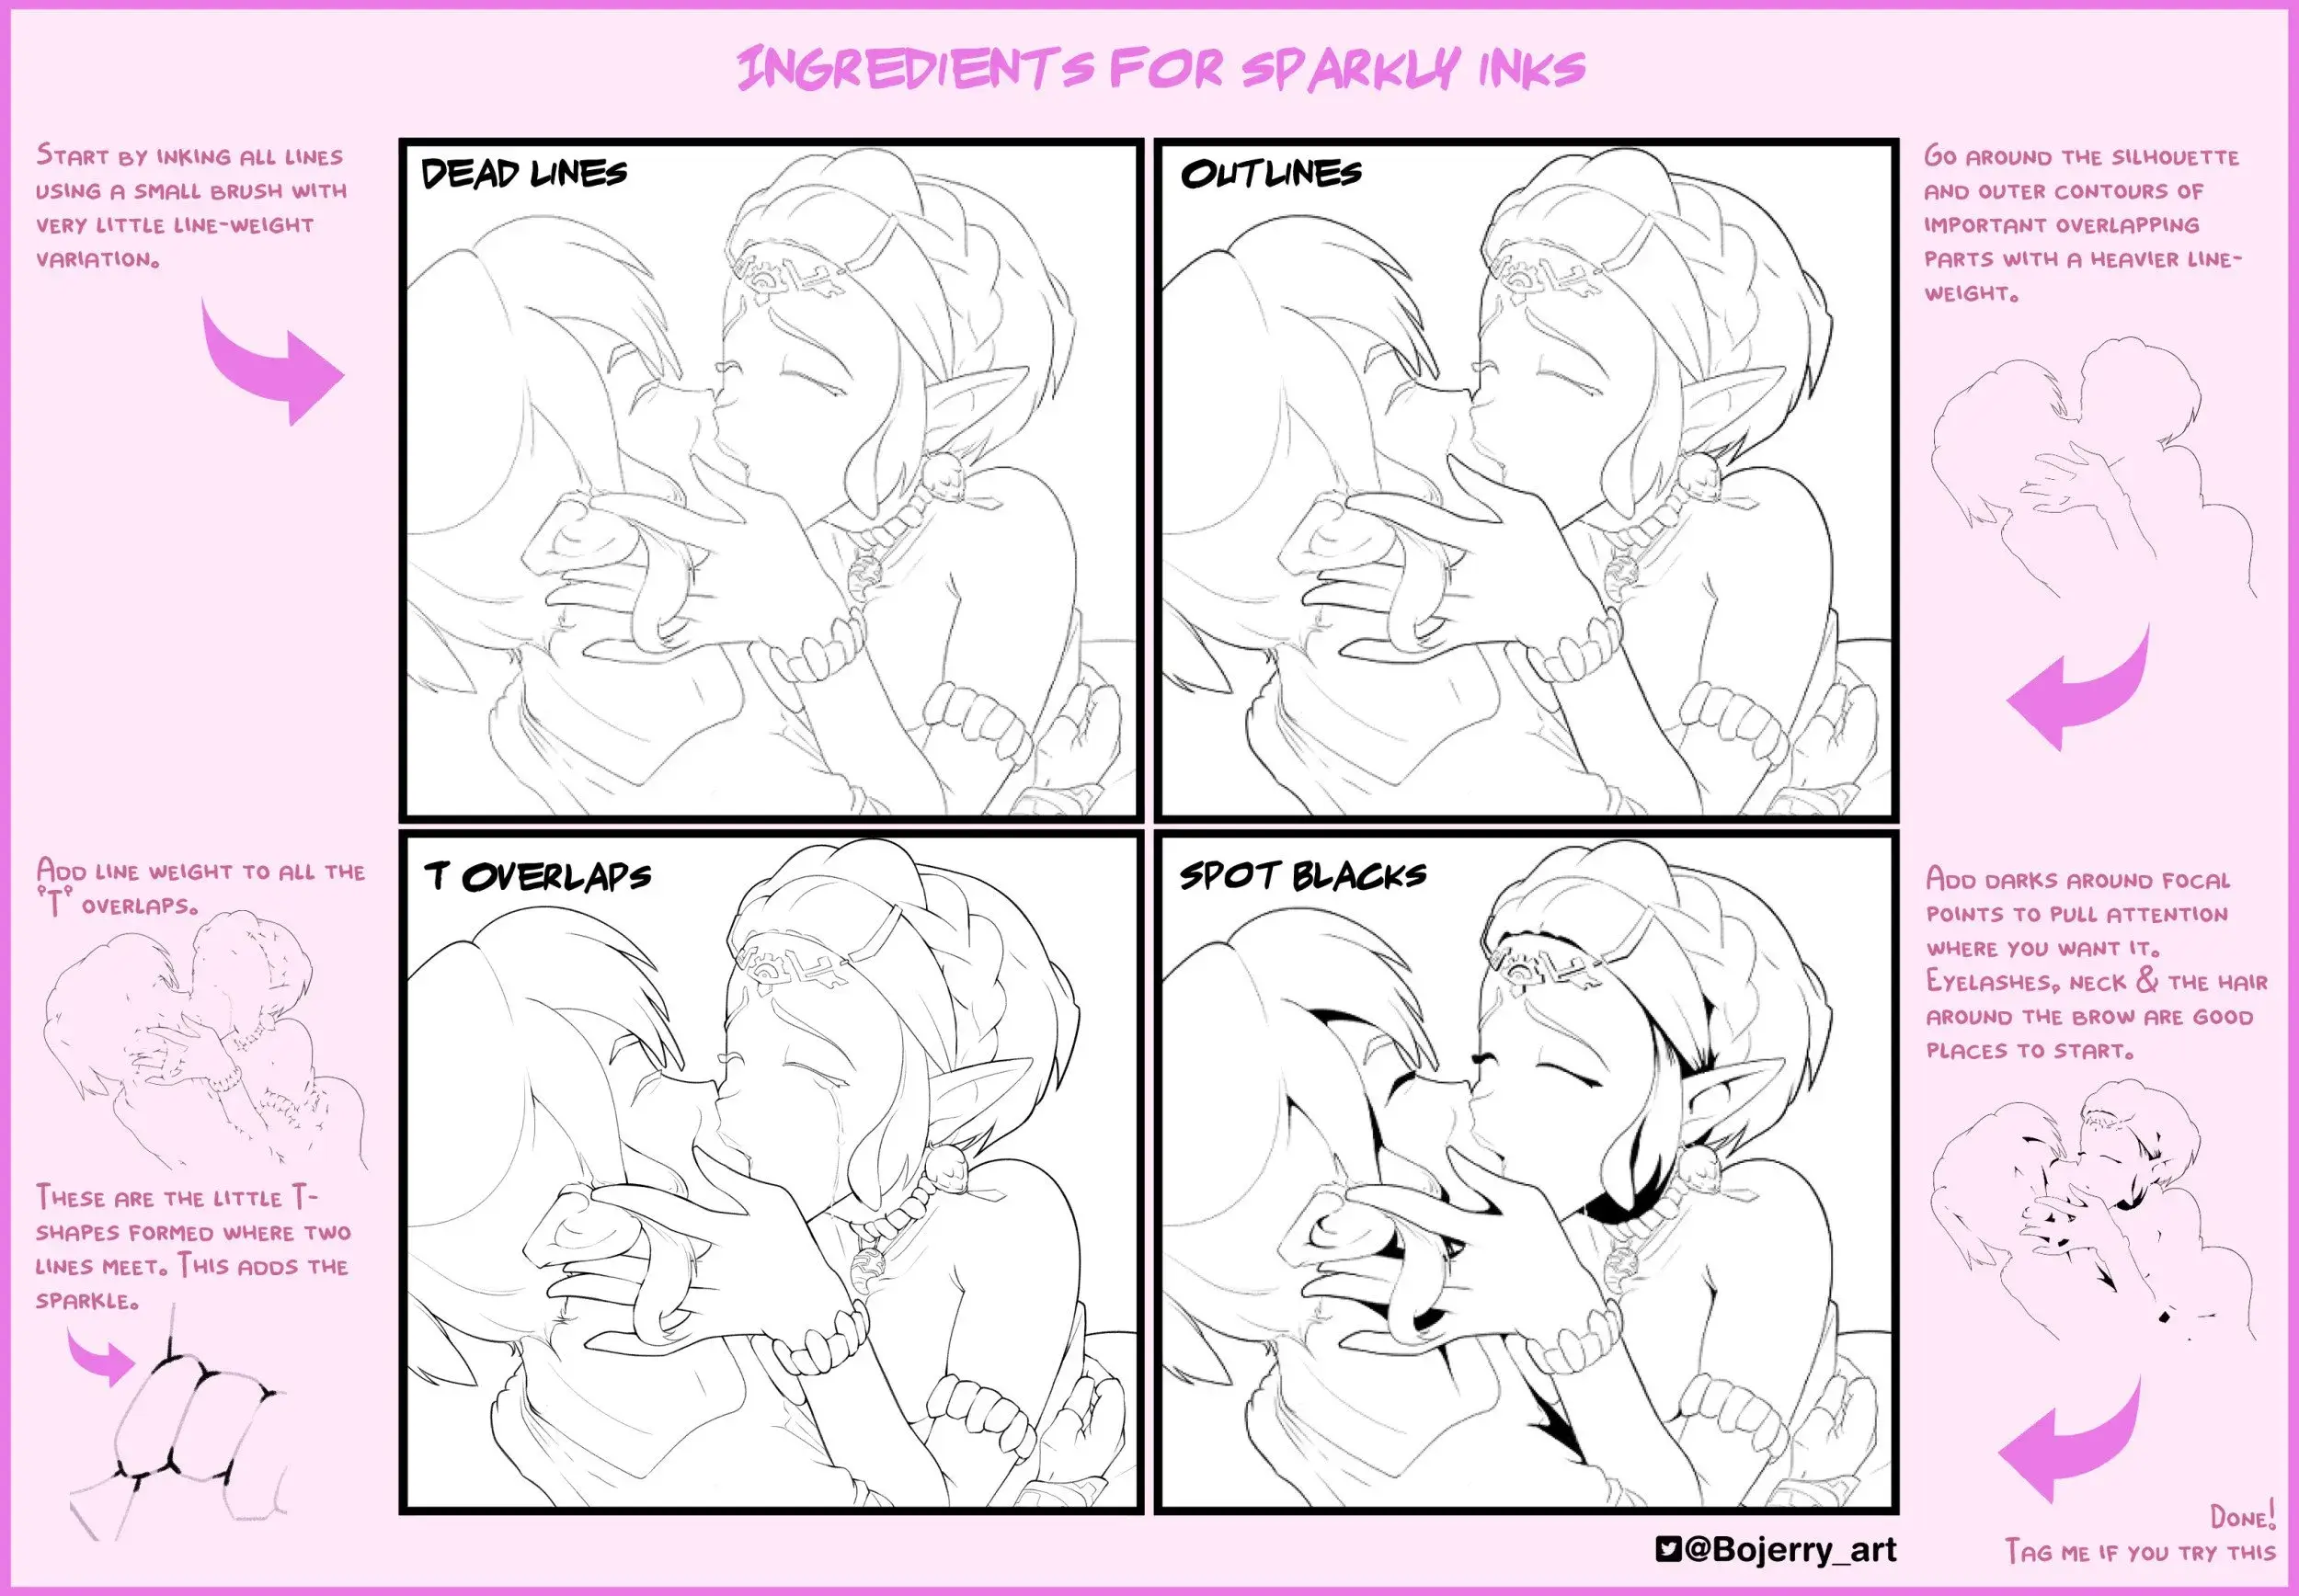
Step 2: Inking Process
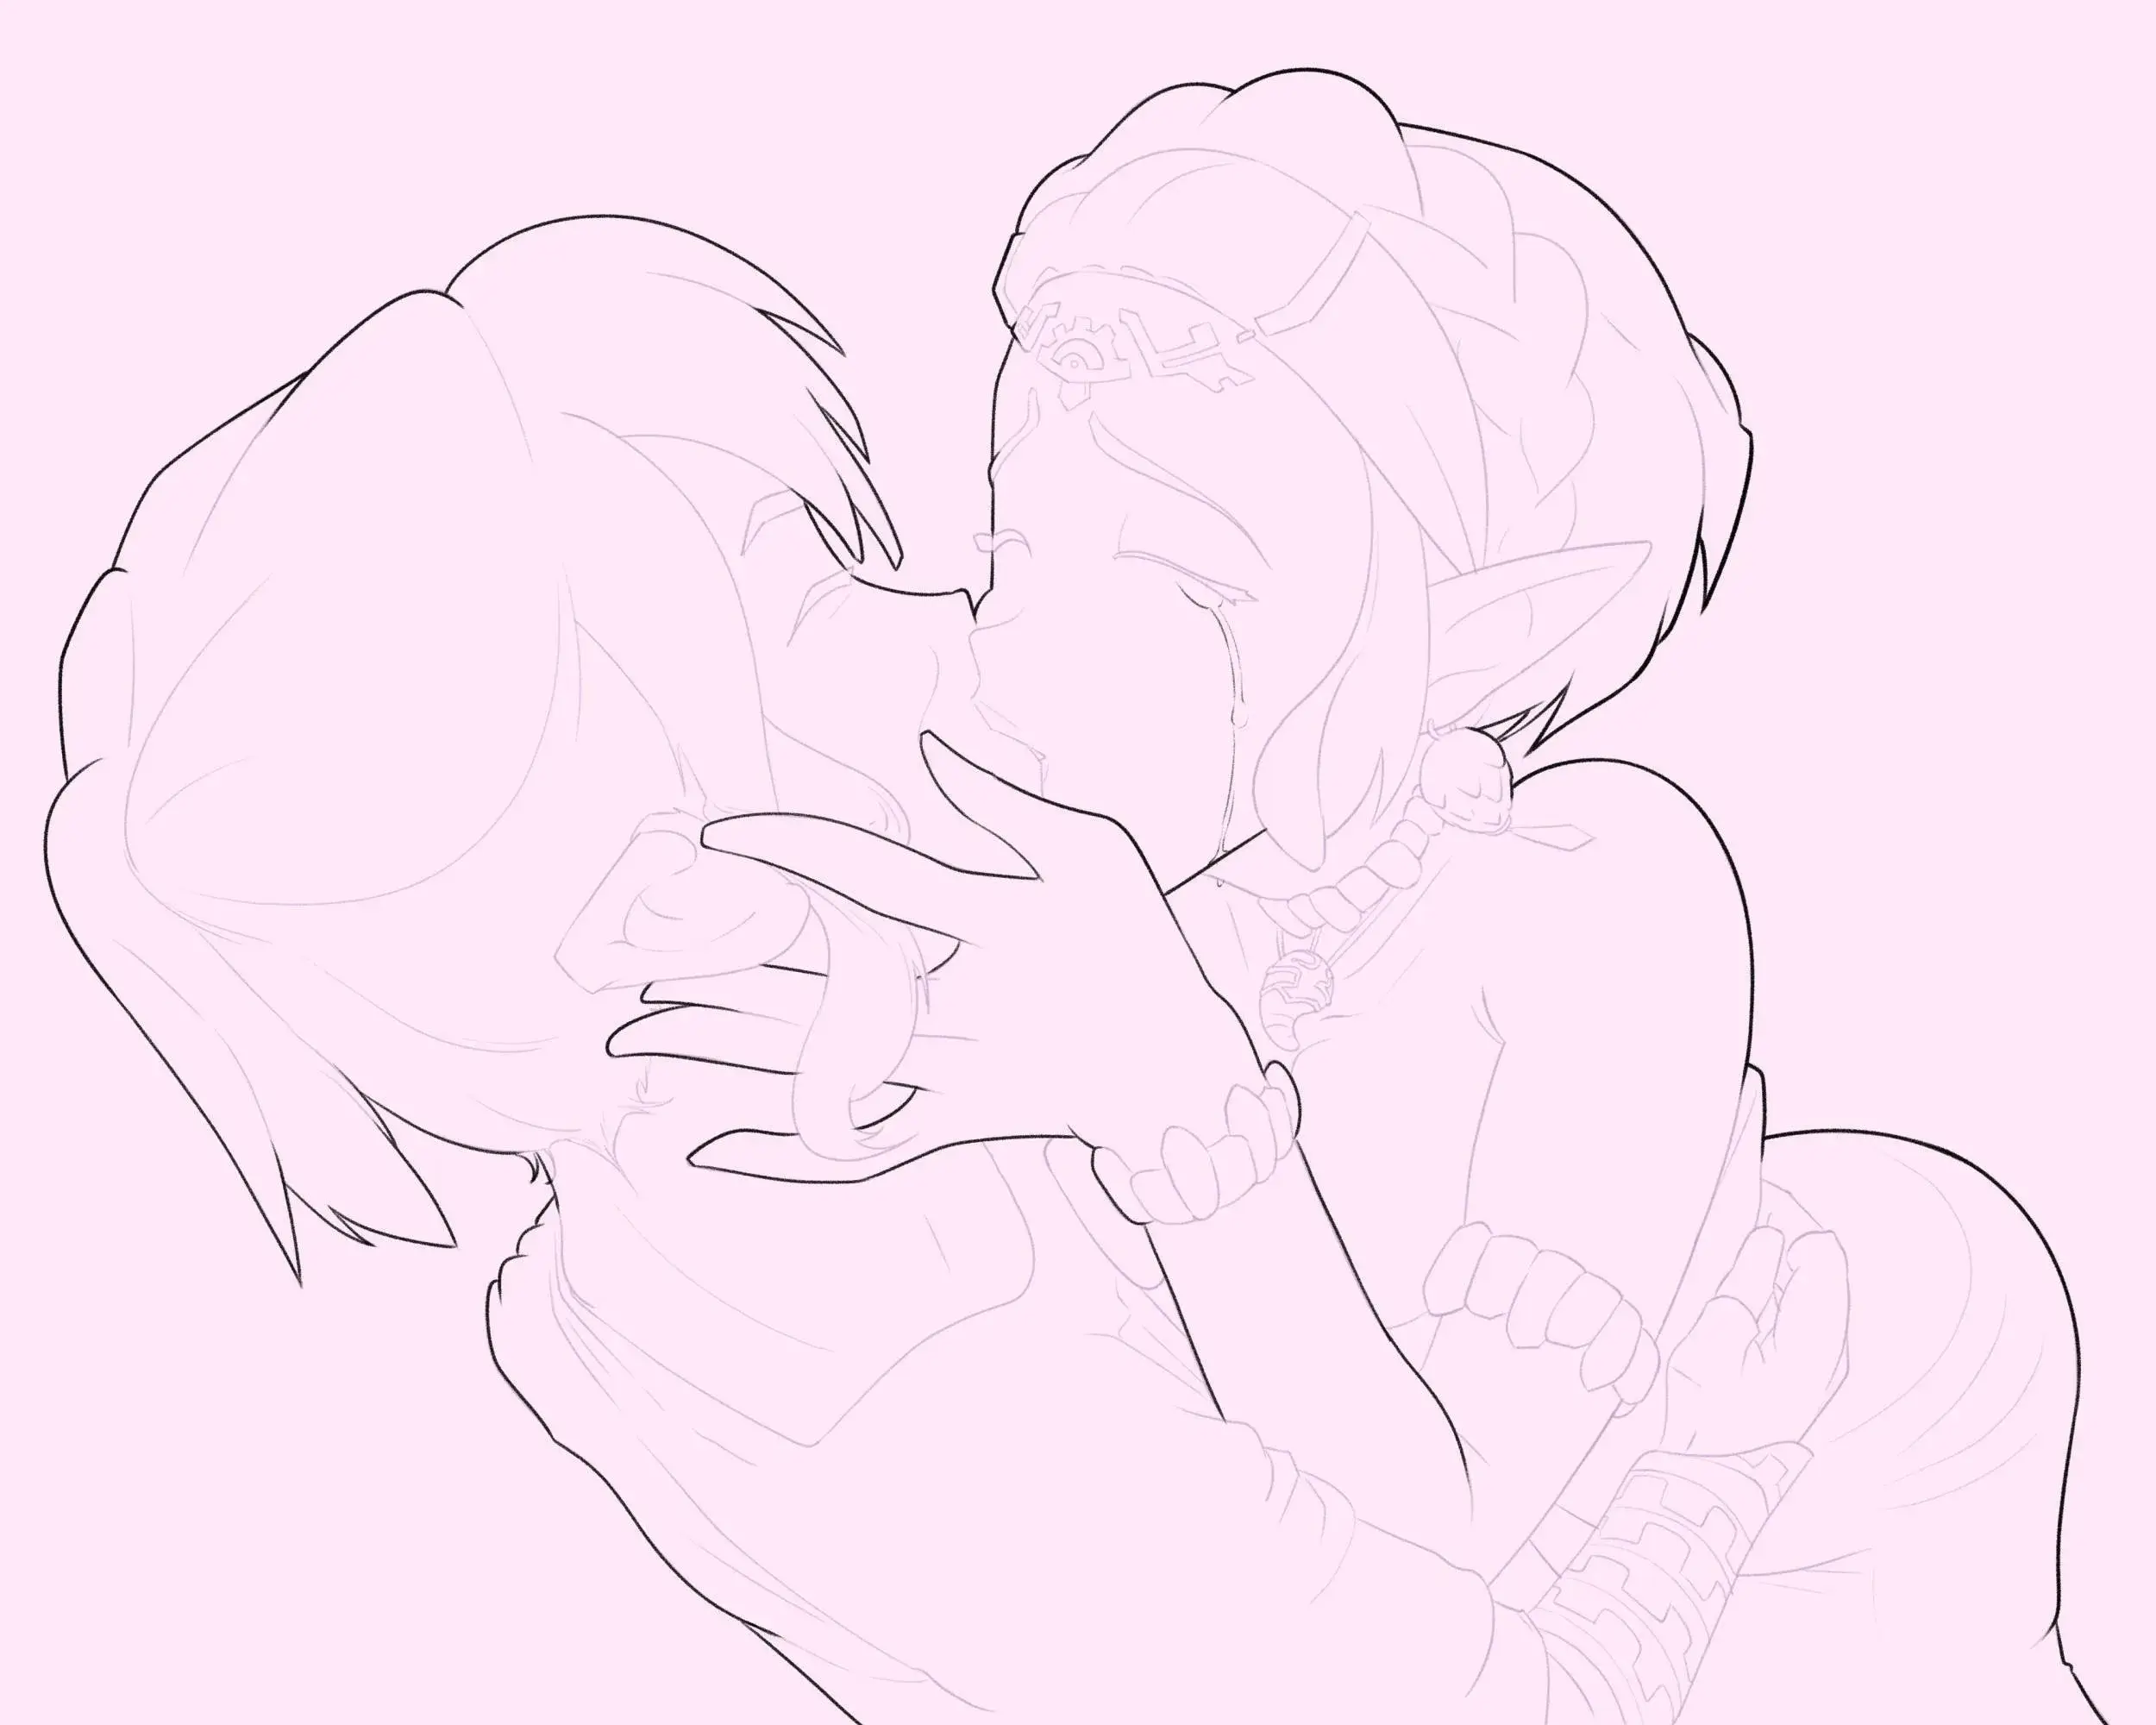
1. Dead Lines: Establishing the Foundation
I begin by inking everything with a small brush and minimal pressure sensitivity to create uniform dead lines. This stage focuses on form and structure without introducing line weight variations.
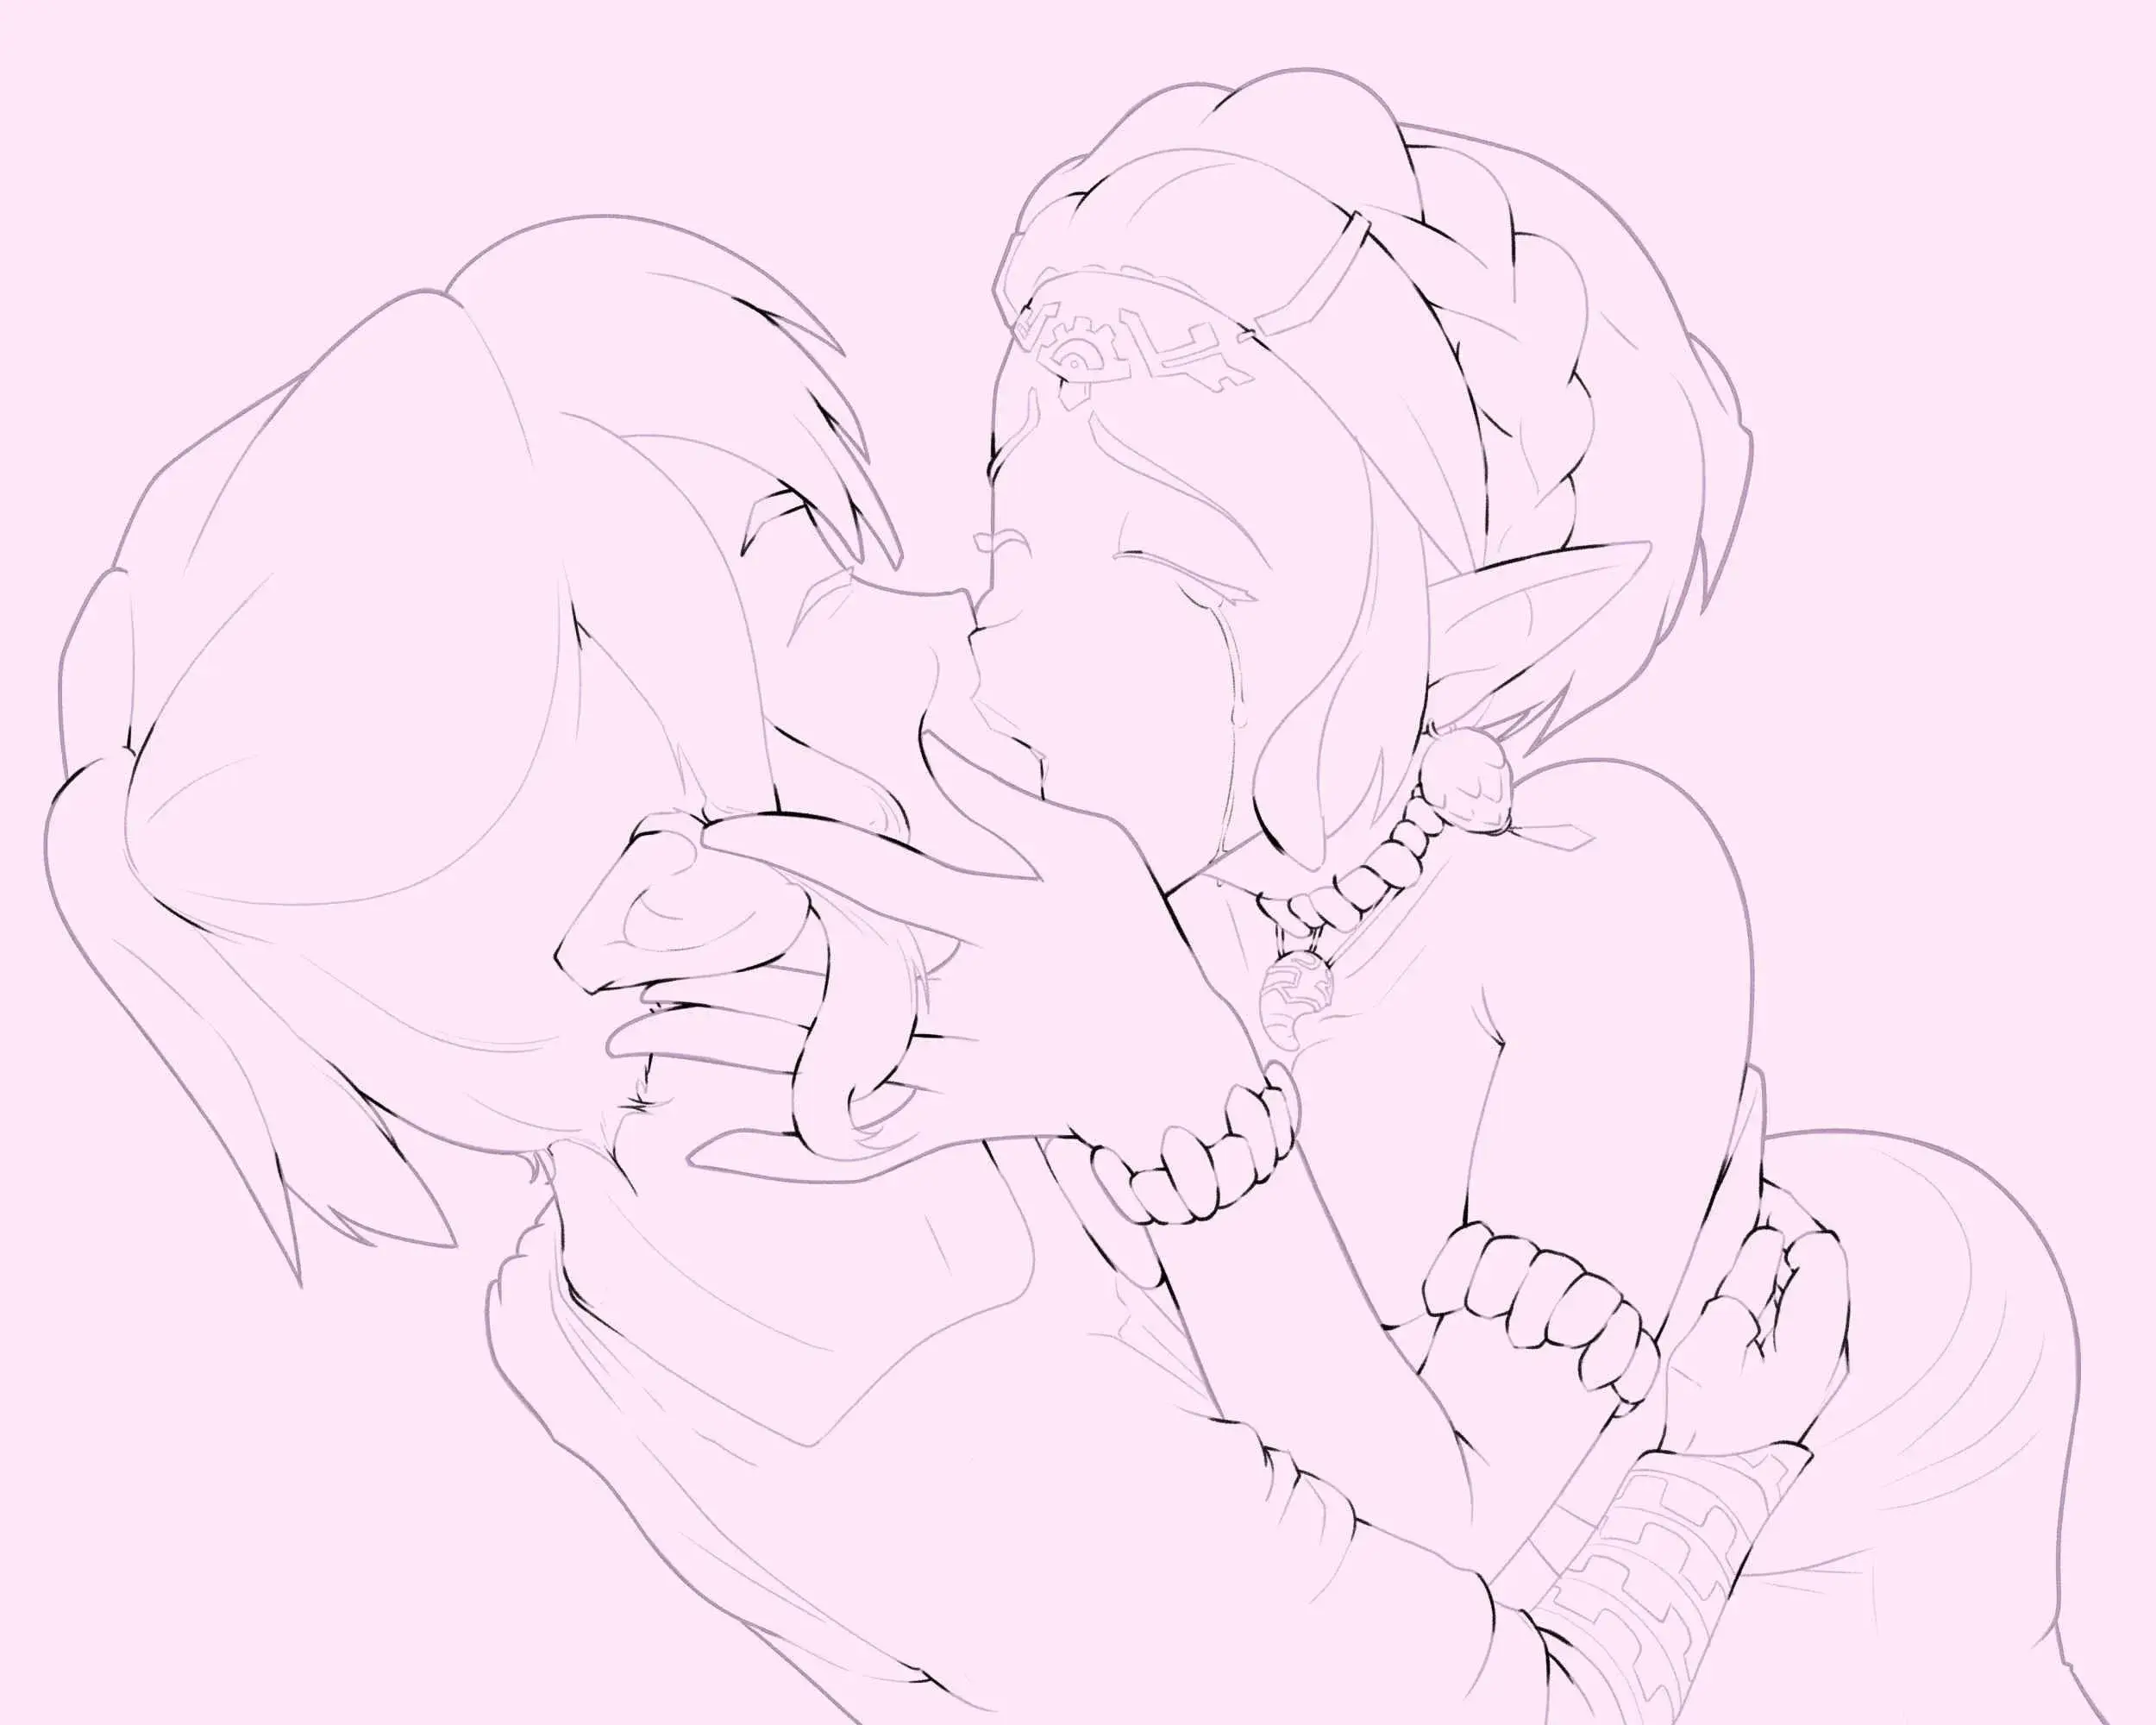
2. Outlines: Defining Silhouettes
Next, I go over the outer contours of the character with a heavier line weight. This locks the figure into a strong, appealing shape.
3. T-Overlaps: Adding Subtle Depth
At every T-shaped intersection, I thicken the lines slightly. This small adjustment adds micro-contrasts that create a lively, organic feel to the inks.
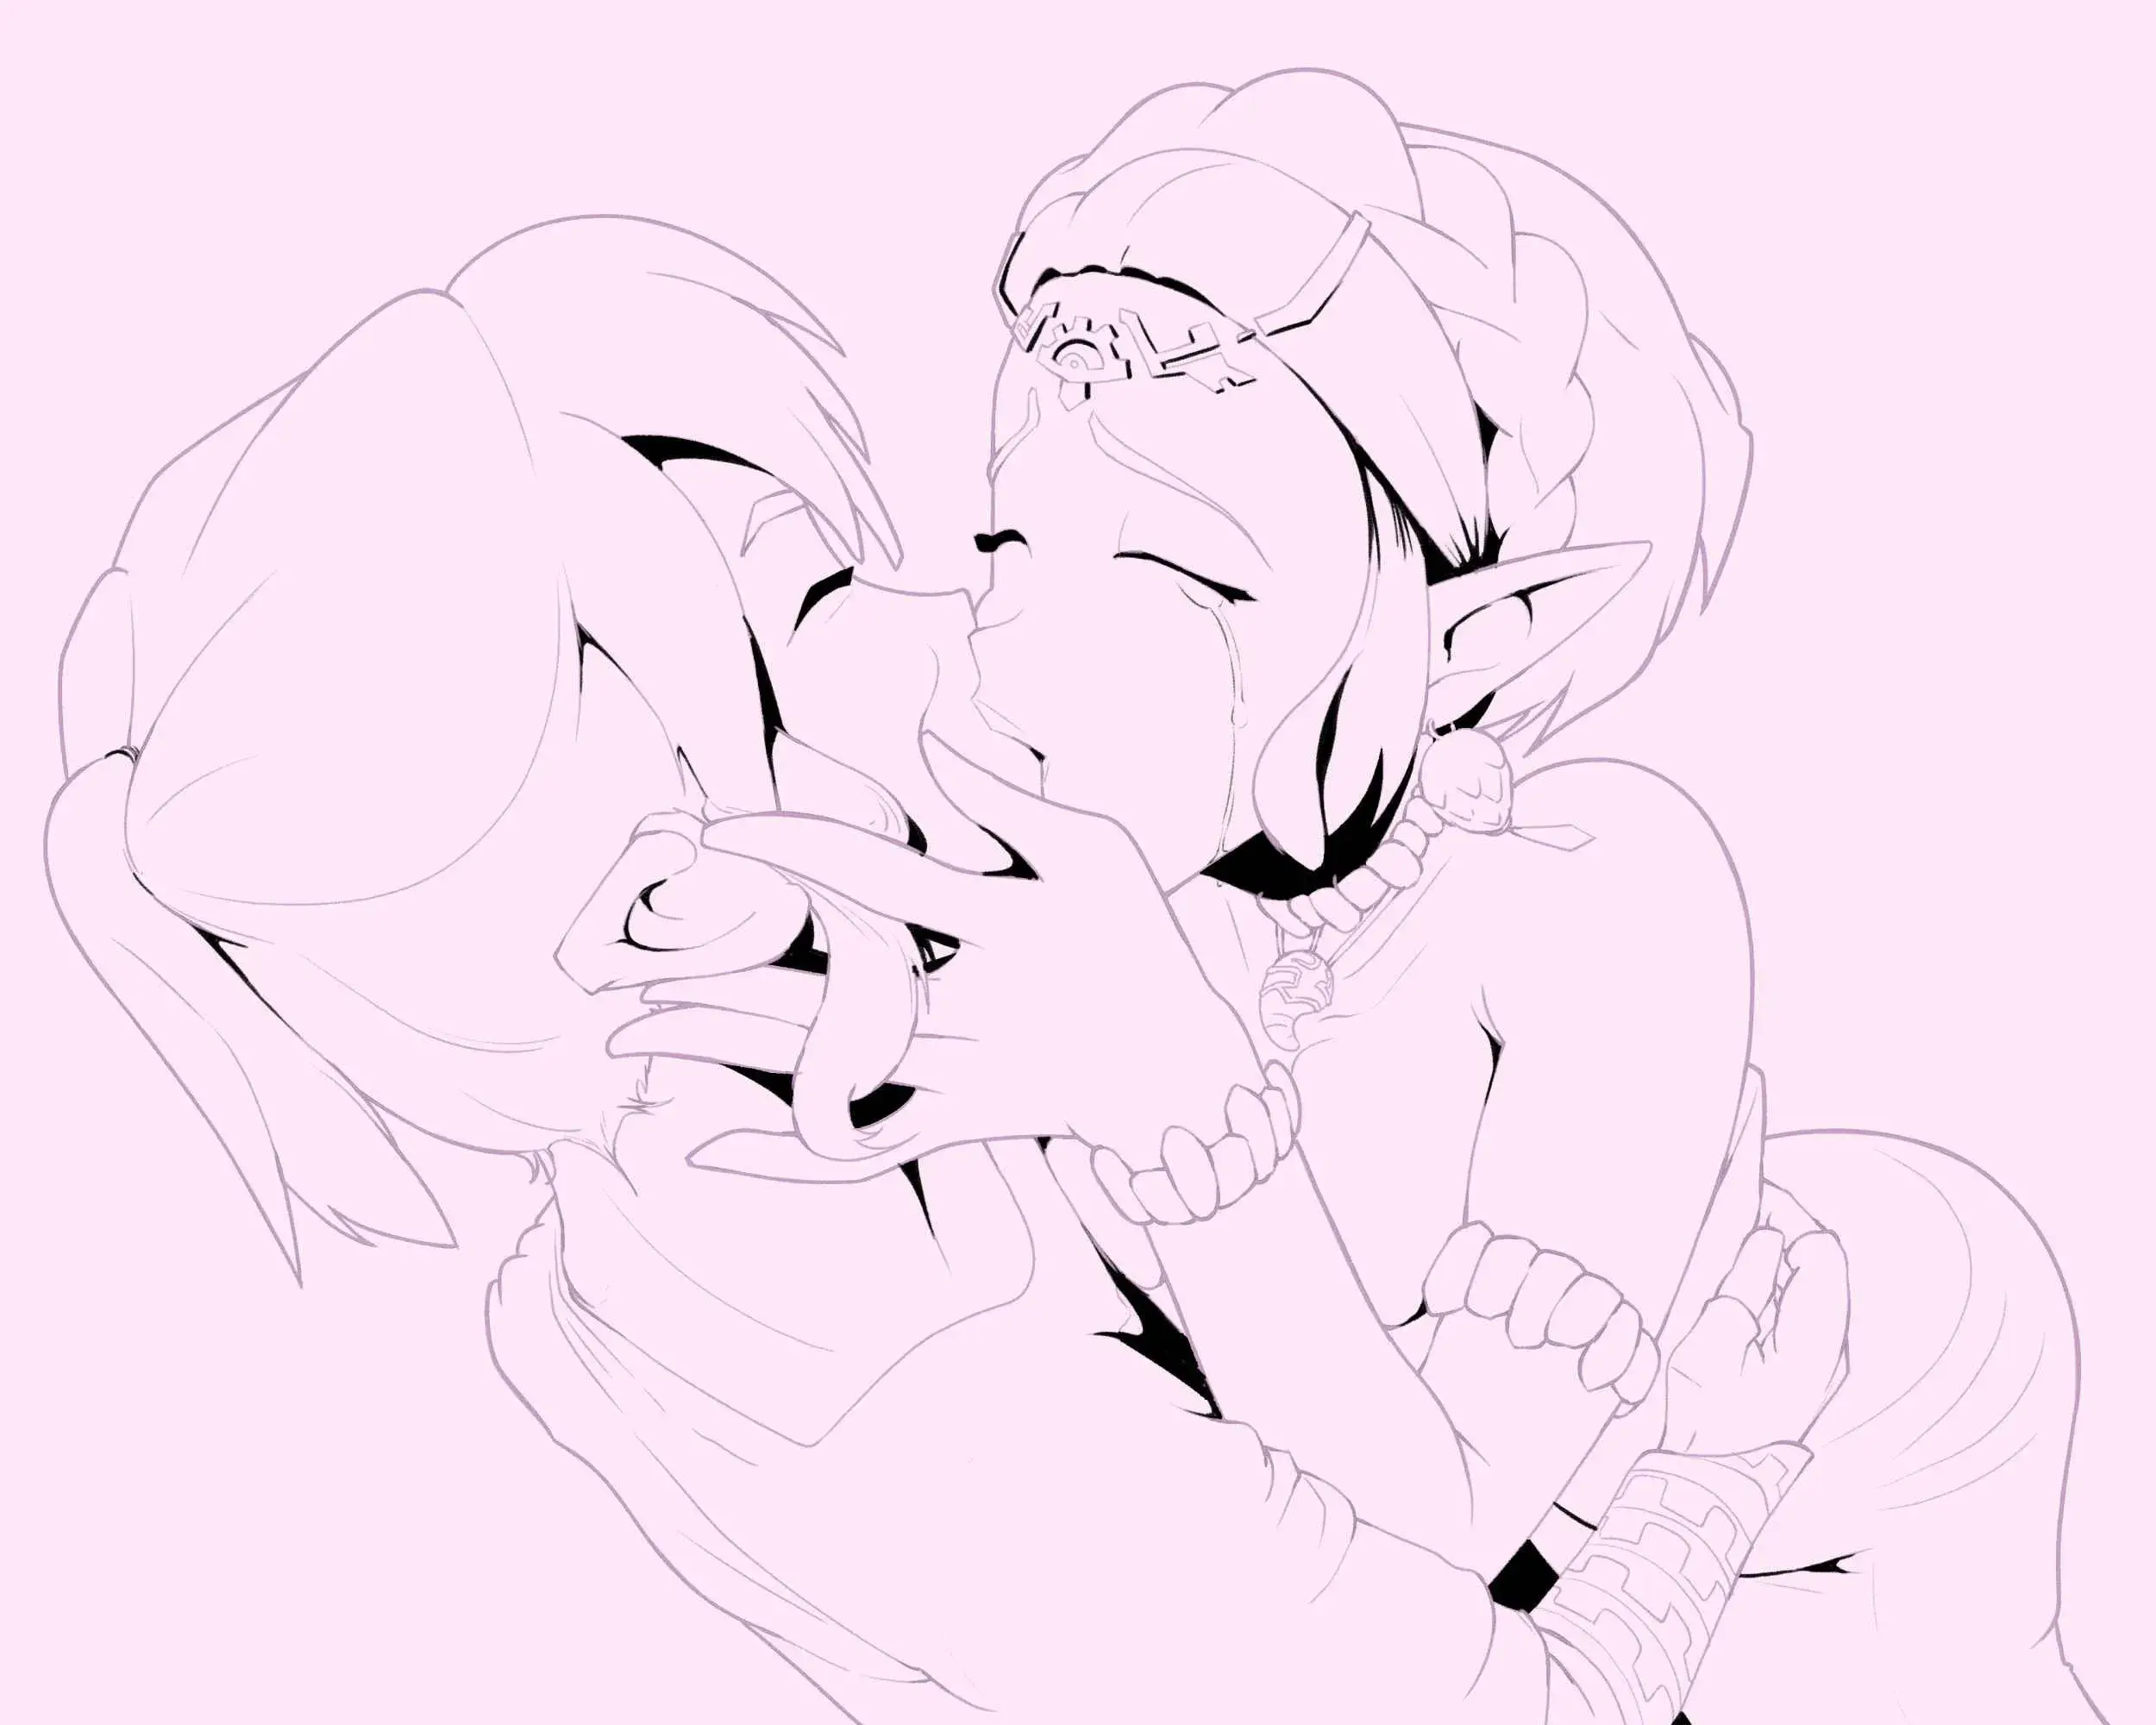
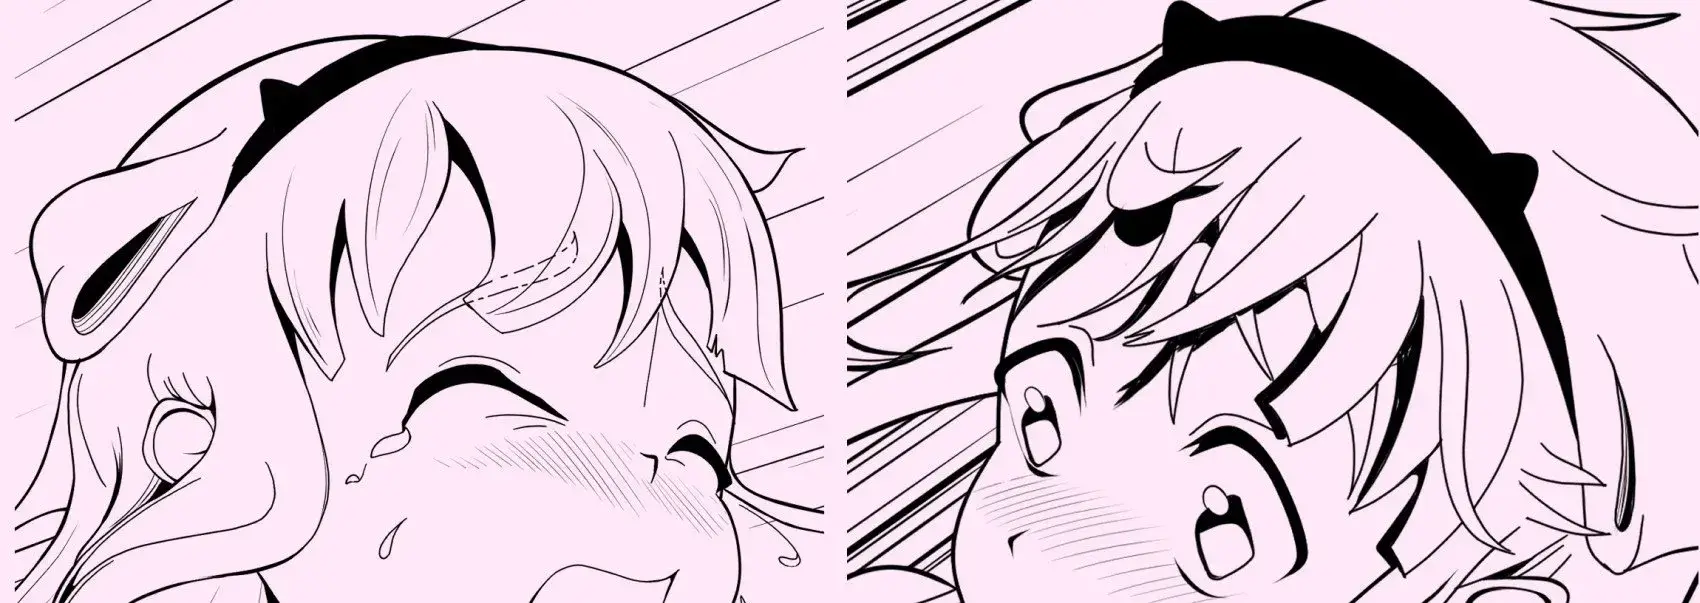
4. Spot Blacks: Creating Focal Points
Lastly, I fill in key areas with solid black to increase contrast and draw attention to important details, such as the face and hands.
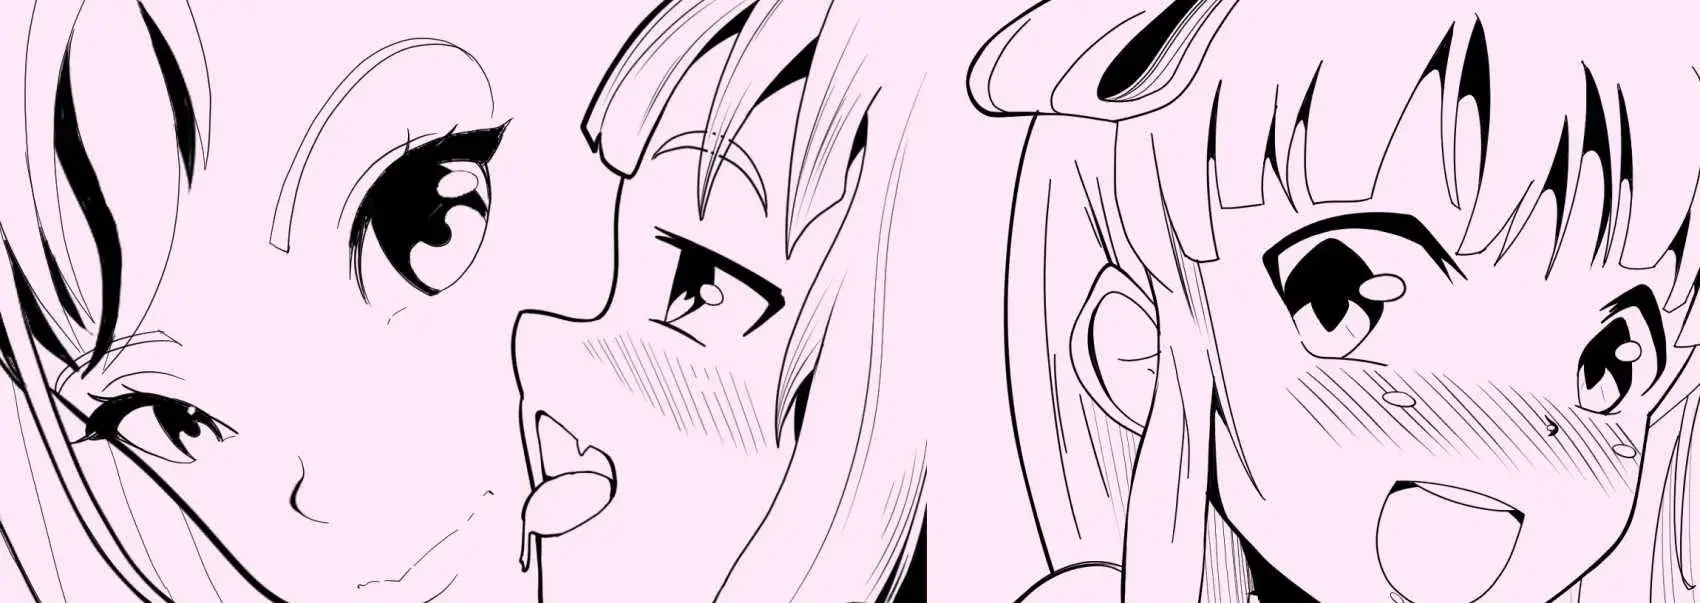
Foolproof Spot Black Placement
If you’re unsure where to place spot blacks, these three areas always work:
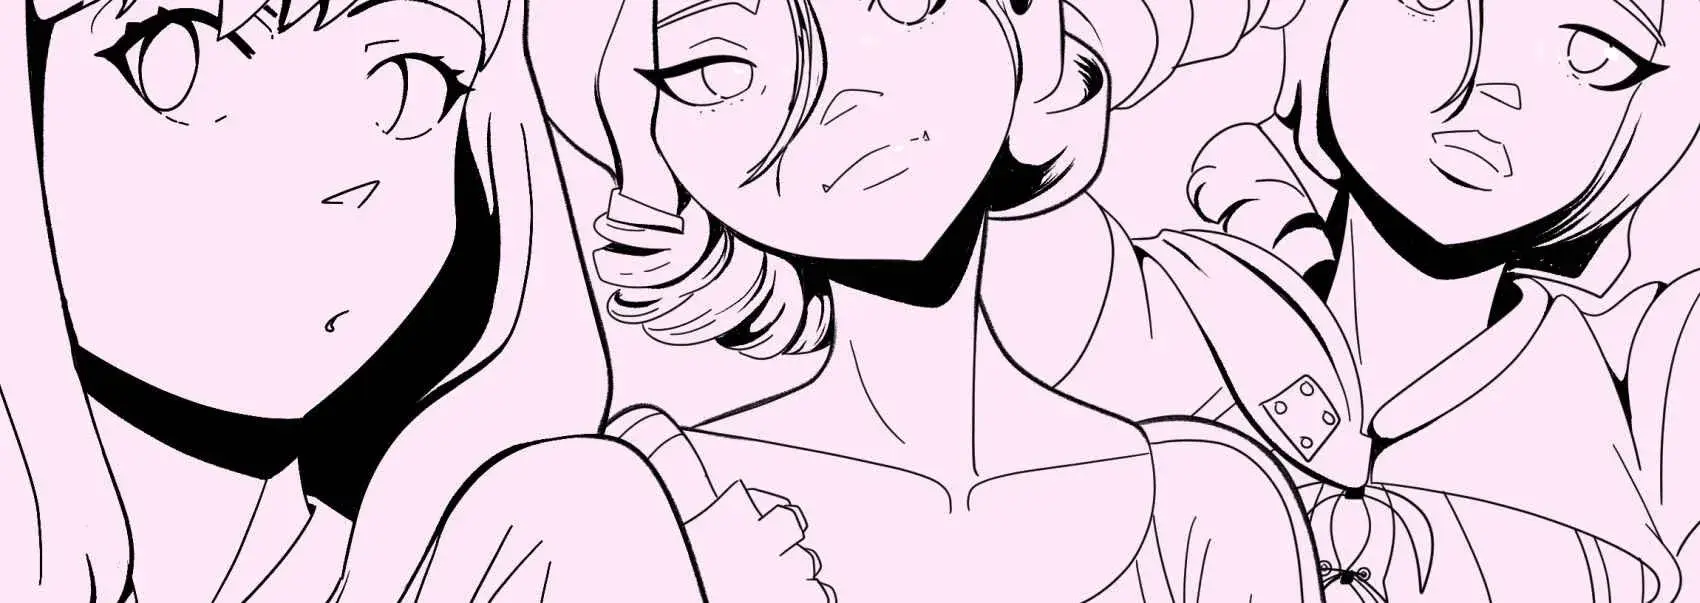
- Eyes: Adding shadow to the upper iris creates depth and realism.
- Neck: The classic manga/anime shadow under the chin instantly enhances contrast.
- Hairline: Filling in hair strands adds structure and prevents clutter.
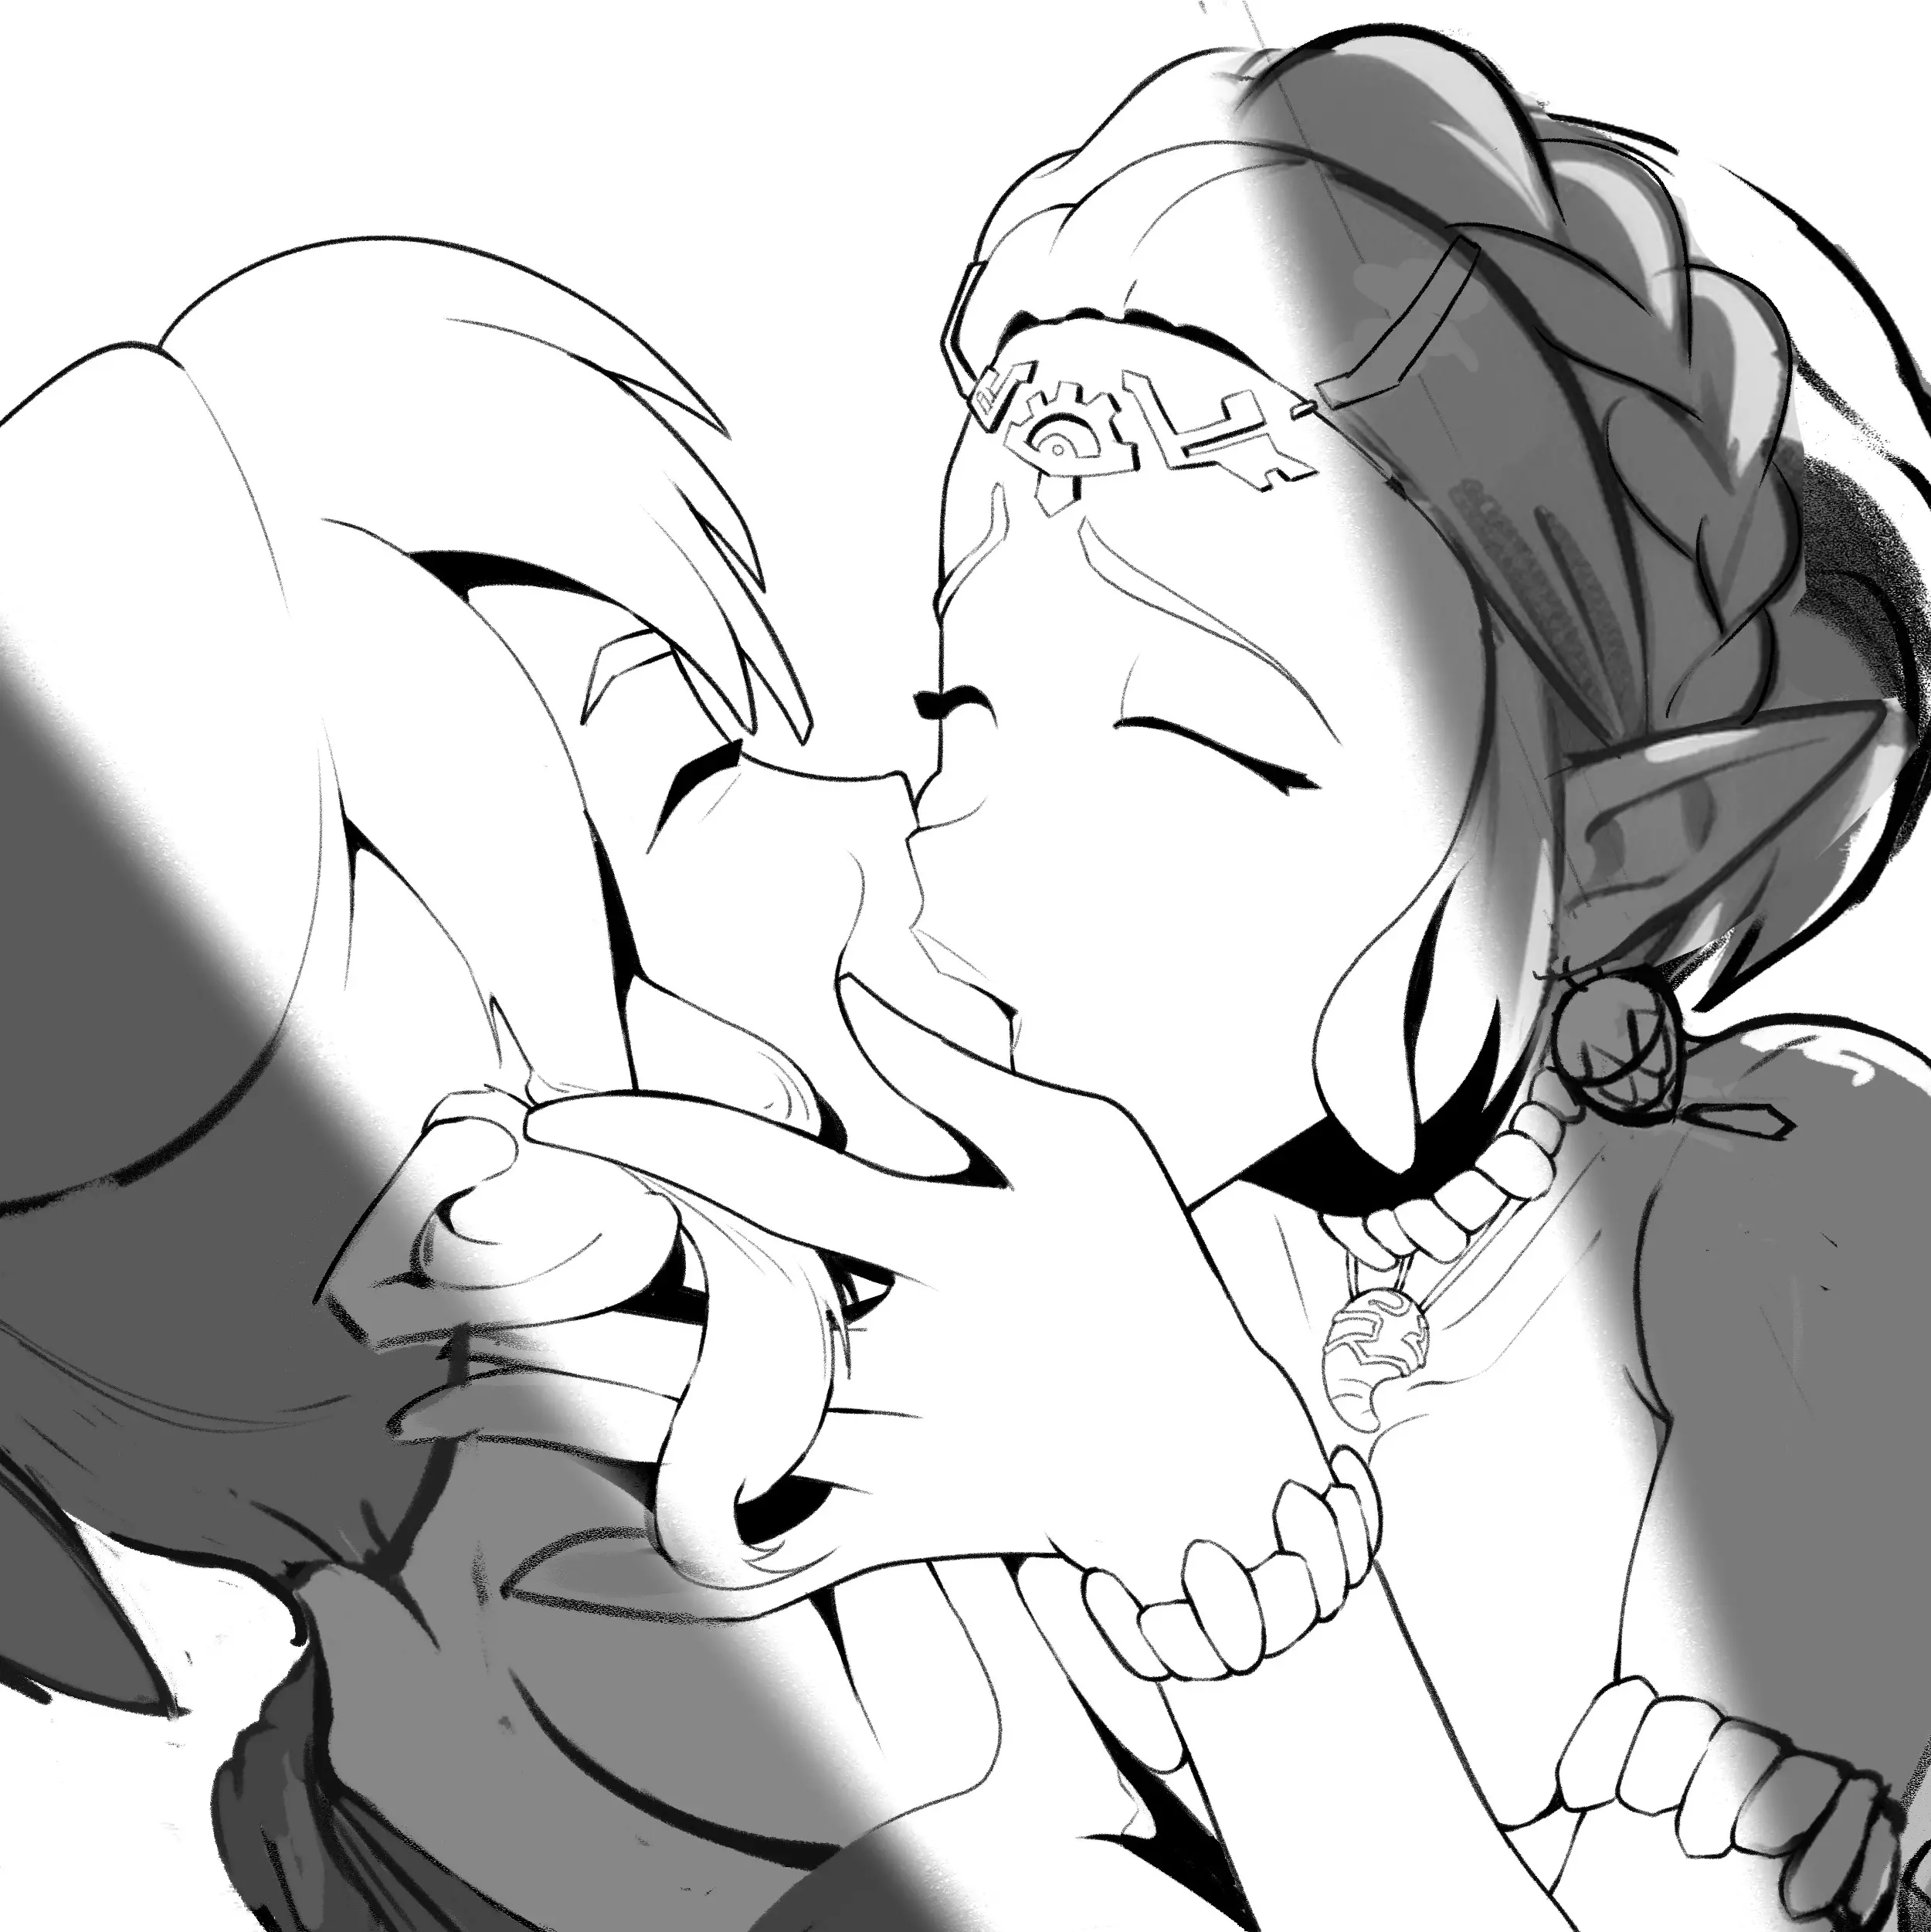
Final Touches: The Completed Inking
When all the elements come together, the inks should read clearly even without the initial sketch. Here’s the final version of our Zelda and Link piece:
Wrapping Up
And that’s it! The Deadspot Method brings together Dead Lines, Outlines, T-Overlaps, and Spot Blacks to create dynamic, expressive inks. Experiment with these elements to refine your own inking style, and don’t be afraid to tweak the process to suit your needs.
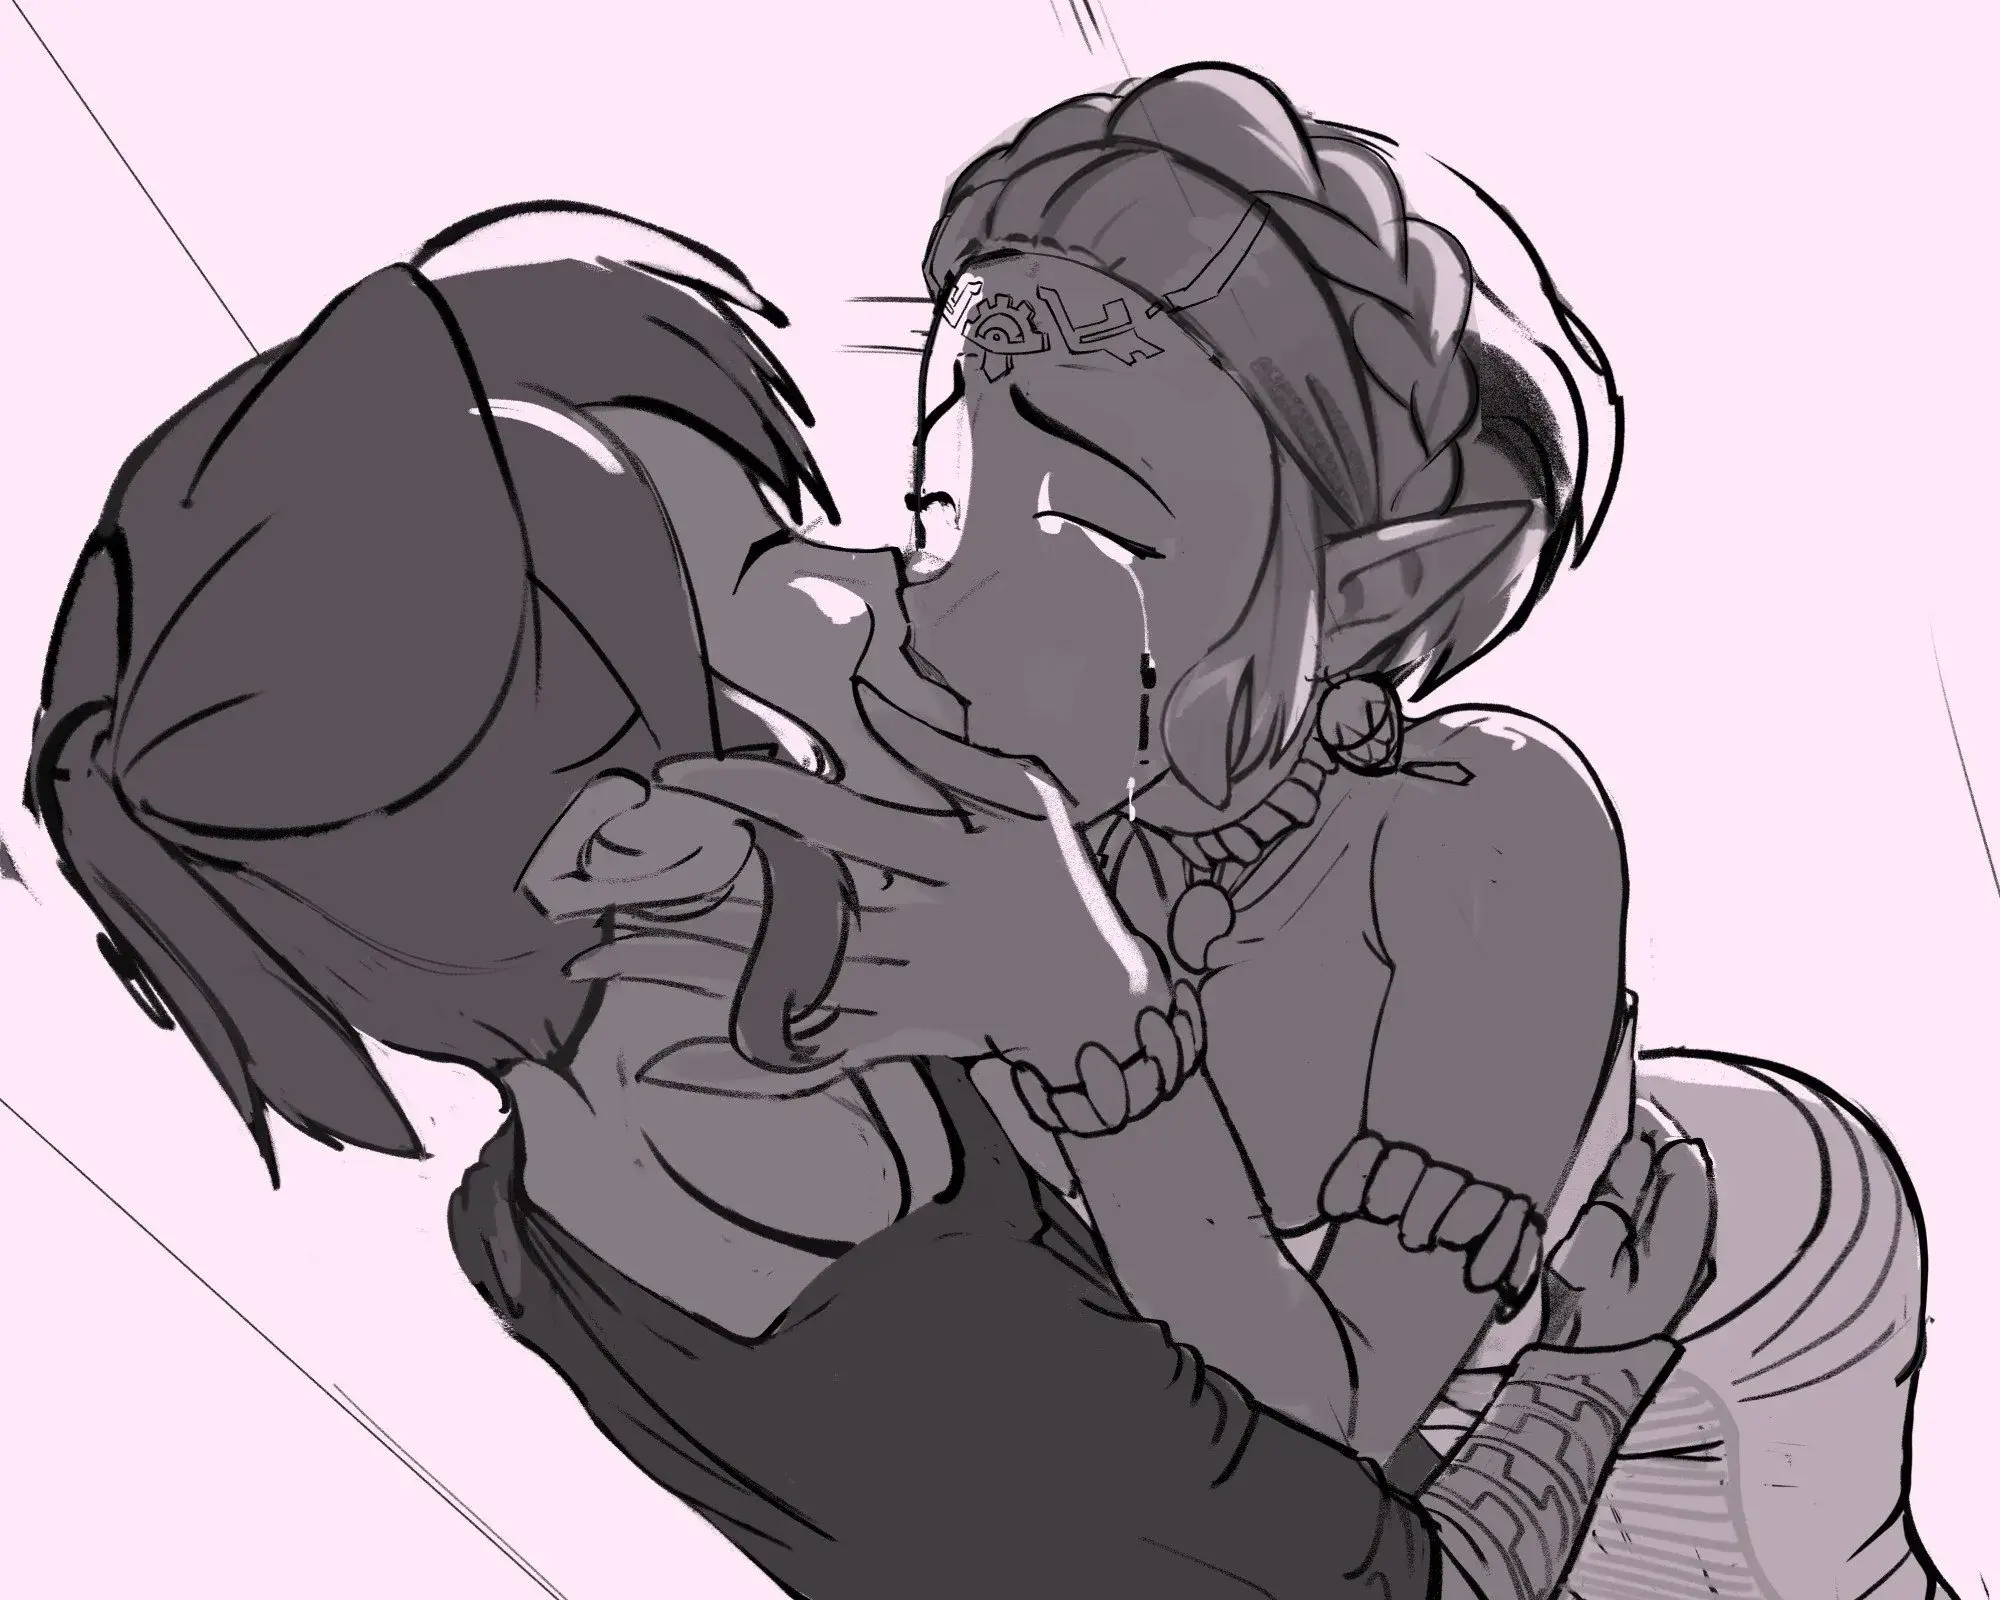
More Examples
Here are a few more pieces where I applied the Deadspot Method:
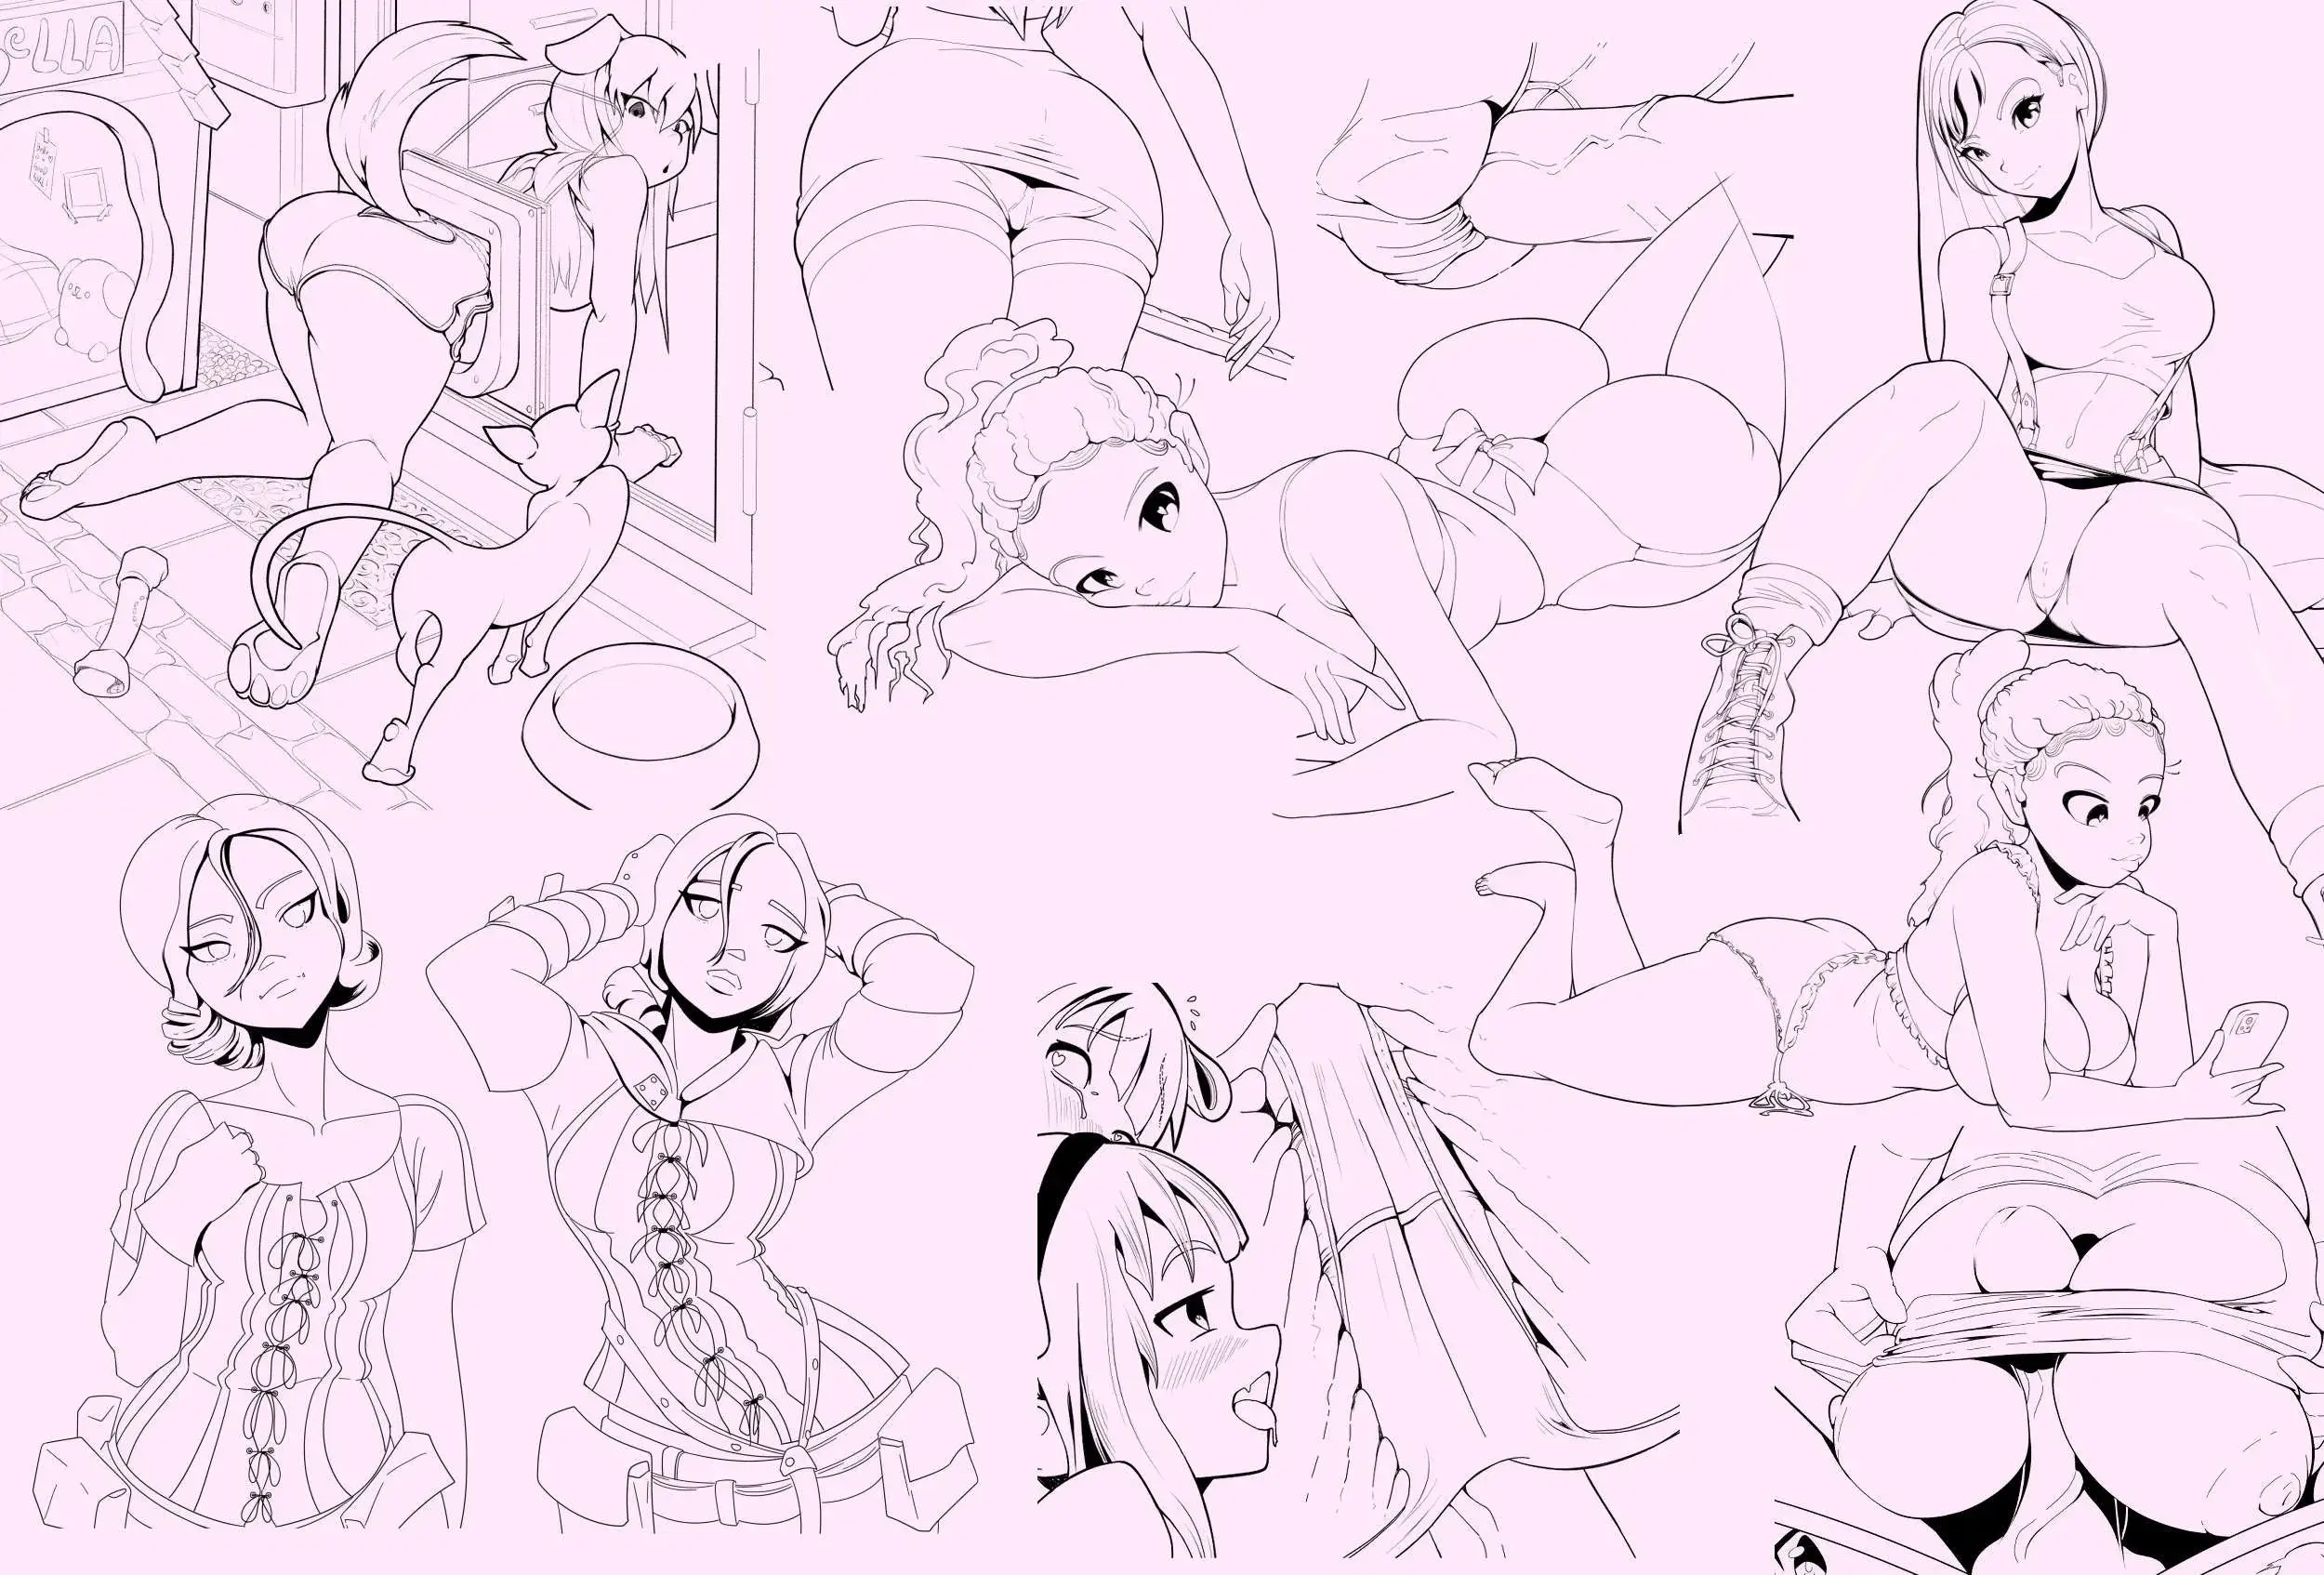
Even months later, I find myself drawn to these inks and the life they bring to my illustrations.
Now It’s Your Turn!
Give the Deadspot Method a try and see how it transforms your linework! If you have any questions, feel free to reach out on X. And if you use this method, tag me—I’d love to see your work!
Happy inking!